
Best Starter Gear for New Photographers
By Ryan Smith · 20 years photographing weddings, families, and couples
For this first post, I want to start with a question many new photographers have.
What camera gear do I need to start professional photography?
My starting recommendation for family portraits is a full-frame mirrorless camera, such as the Sony a7 IV or new a7 V if your budget allows, and a 50mm f/1.4 prime lens. For engagements, I recommend an 85mm f/1.4. Weddings also need a wider lens, like a 35mm and a backup camera, while real estate needs a much wider lens for interiors. I’ll go through each type of photography below. Click any example picture to view it larger.
Modern mirrorless cameras are all very capable. For the kind of pictures I take, the lenses and off-camera flash are what really help the photographs stand out. I would keep room in the budget for those instead of spending a lot on the camera body.
Why I shoot with Sony and recommend it to start
I shoot with Sony now, and it’s what I would recommend to someone starting a new camera system. I like the fast eye autofocus, and the wide choice of third-party lenses makes it easier to build a good kit at different price levels. You can choose Sony lenses or look at compatible options from companies such as Viltrox, Sigma, and Tamron.
I shot with Nikon for many years. I still think Nikon has the best ergonomics and feel in the hand. How comfortable a camera feels matters, especially when you’re carrying it through a wedding day, so I would try holding the cameras before deciding.
I haven’t shot professionally with Canon myself, but I have many photographer friends who use it exclusively. For someone starting a new full-frame kit, I prefer Sony’s lens choices and value. Third-party autofocus lens choices for Canon RF full-frame cameras are more limited. For the features and lens options I want, I would put my money into Sony or Nikon.
If you already have a Canon, though, I would stick with it. The same goes for a Nikon or another modern mirrorless camera you already know and enjoy using. All of these cameras can make great pictures. Learn your camera, choose good lenses, and start learning how to use light.
What about crop-sensor cameras?
Crop-sensor or APS-C cameras are also very nice and can take great pictures. I have a Sony a6700, and I love it for travel. A smaller camera can be a great choice when you want something easy to carry.
For professional wedding and family work, I still recommend full frame. The price difference can be smaller than you might expect, especially when considering used cameras, but compare the specific models and your budget. I value the higher-resolution options and the ability to get the soft backgrounds I want. Resolution depends on the camera model, not just sensor size. At similar framing and aperture, full frame gives you more scope for a shallow depth of field. For example, f/1.4 on a Sony APS-C camera gives roughly the depth of field of f/2.1 on full frame at the same framing. That comparison is about depth of field, not exposure.
Why I recommend buying the f/1.4 versions
For the primes, I recommend getting the f/1.4 versions. Companies like Viltrox have made these lenses much more affordable, so that’s where I would put my money when starting out instead of sticking with the Sony, Nikon, or Canon f/1.8 lenses. The wide aperture gives you more options for low light and soft backgrounds, even though you’ll often close it down for family groups.
Sigma and Tamron are also brands I would consider as you build your kit. However, the Chinese brands like Viltrox are catching up fast. Their better lenses can deliver image quality that rivals lenses from Sony, Canon, and Nikon. The available lenses vary by camera mount, so compare the specific lens you want. Sigma has strong f/1.4 prime options, while Tamron is also worth considering when you add a zoom.
If you can spend more, the camera makers’ premium lenses are worth considering for their autofocus performance and camera-specific features. I love my Sony 85mm f/1.4 GM II. It focuses very quickly and gives me excellent sharpness, even at wide apertures. But it’s also expensive, and you can make beautiful client pictures with a more affordable Viltrox. Good light, focus, and how you use the lens matter more than the brand on it.
Family photography: start with a 50mm f/1.4
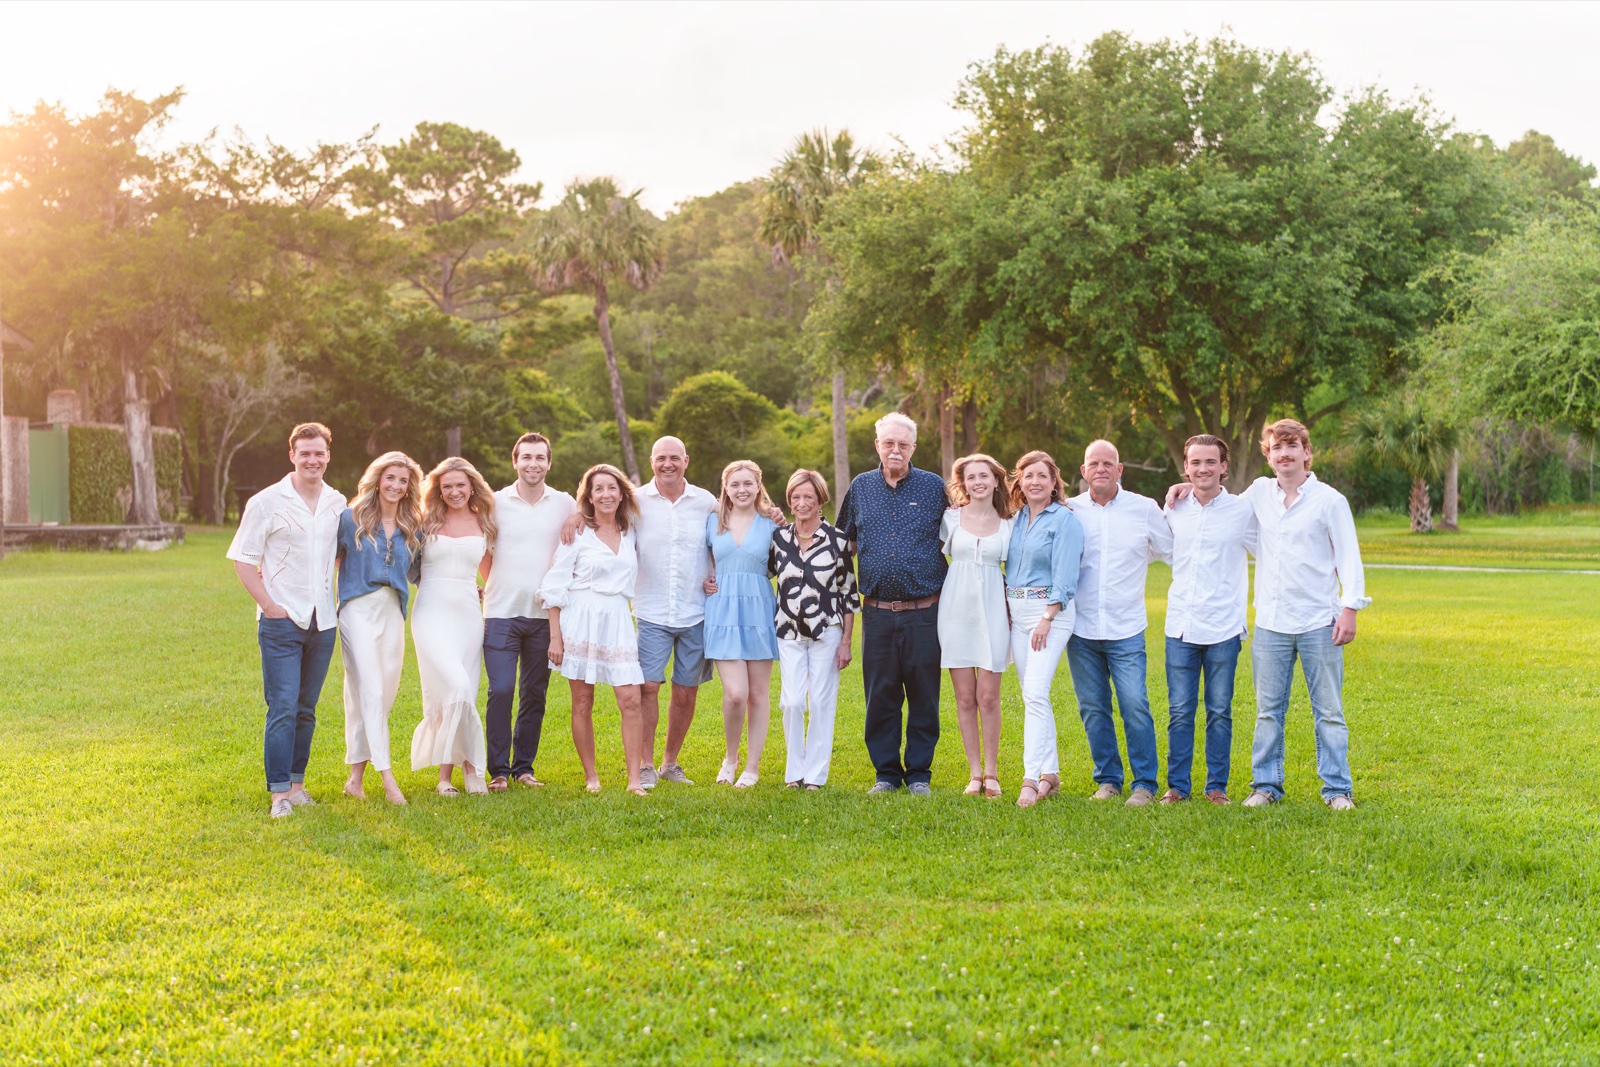
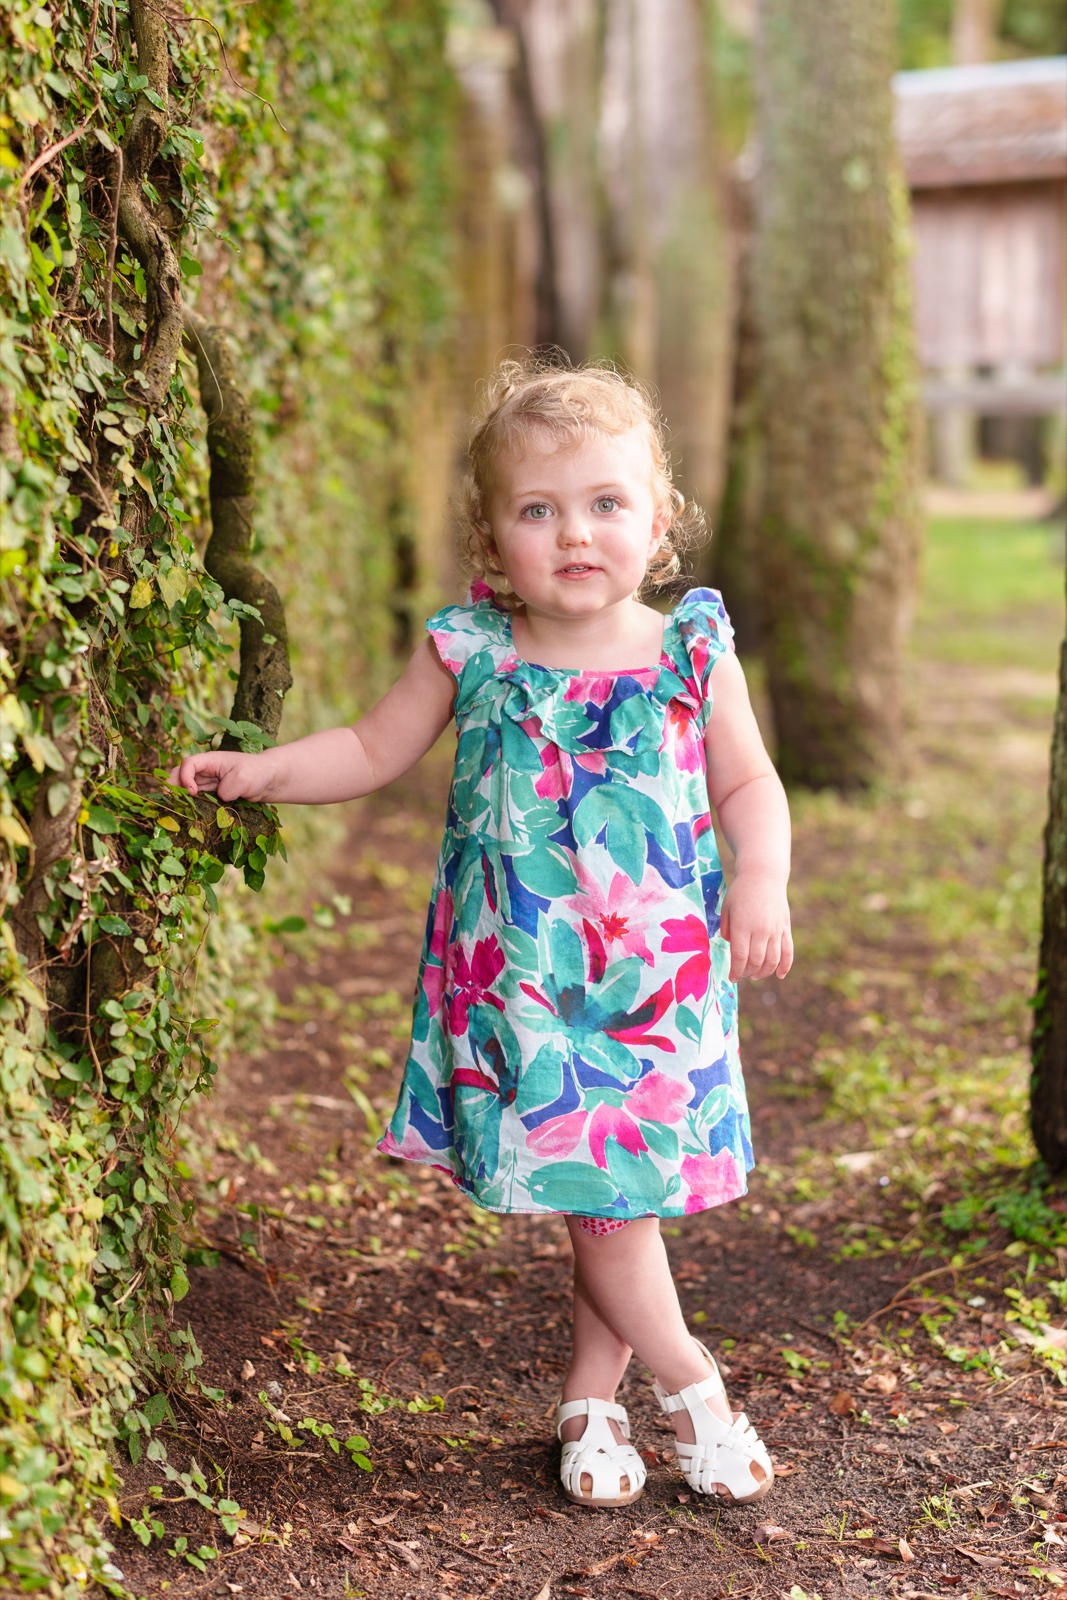
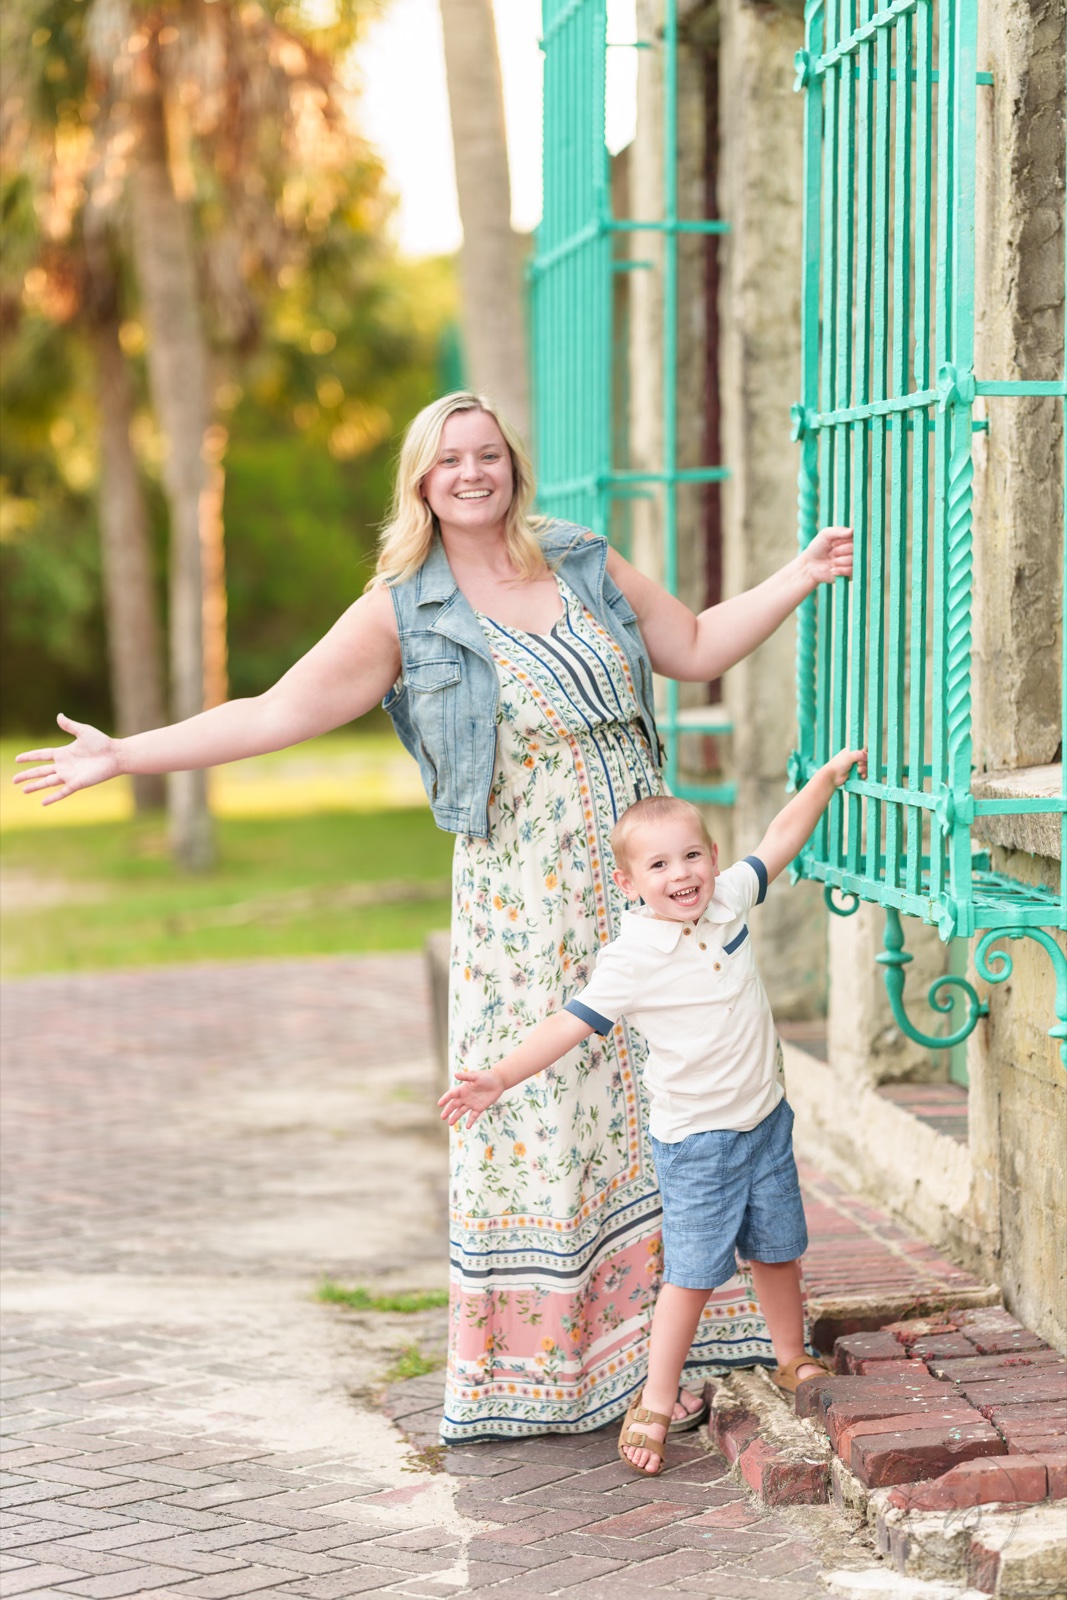
If I were recommending one lens to a new photographer, it would be a 50mm f/1.4 prime. A prime lens has a fixed focal length instead of a zoom range. A 50mm is wide enough for larger family groups when you have room to step back, while still giving you beautiful background blur for portraits. That makes it a great first lens for learning and for a wide variety of family pictures.
I love the look I get from prime lenses. Getting a similar look from a zoom can mean spending a lot more on a fast lens, like the 28–70mm f/2 I use now, which costs several thousand dollars. A 50mm prime is a much more affordable place to start.
Having f/1.4 available doesn’t mean you should use it for every picture. With a family group, you need enough depth of field to keep everyone sharp, especially if people are standing in more than one row. Choose the aperture for the people in the picture. I usually shoot at f/2 or a higher f-number for families and groups, stopping down further when needed to keep everyone sharp. Moving closer to your subjects and leaving more space between them and the background helps create stronger background blur.
For family pictures and starting out, you can do everything you need with a single camera and a 50mm lens. Learn that setup before feeling you need to buy more equipment.
50mm examples
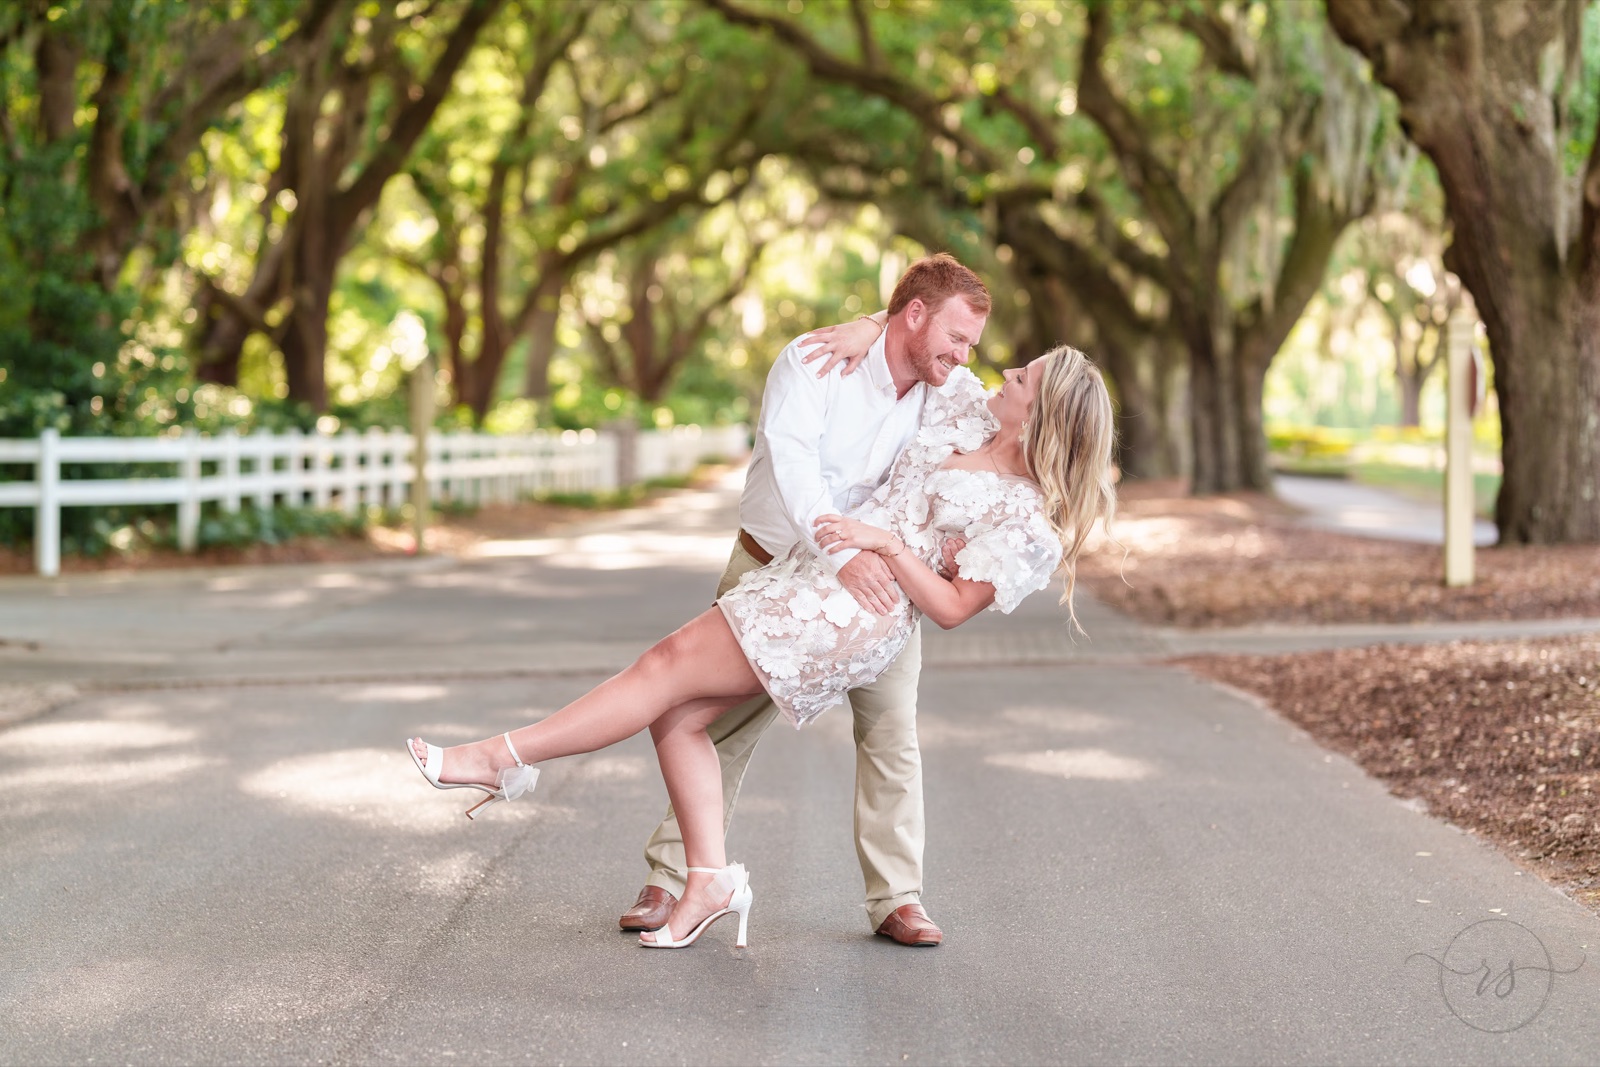
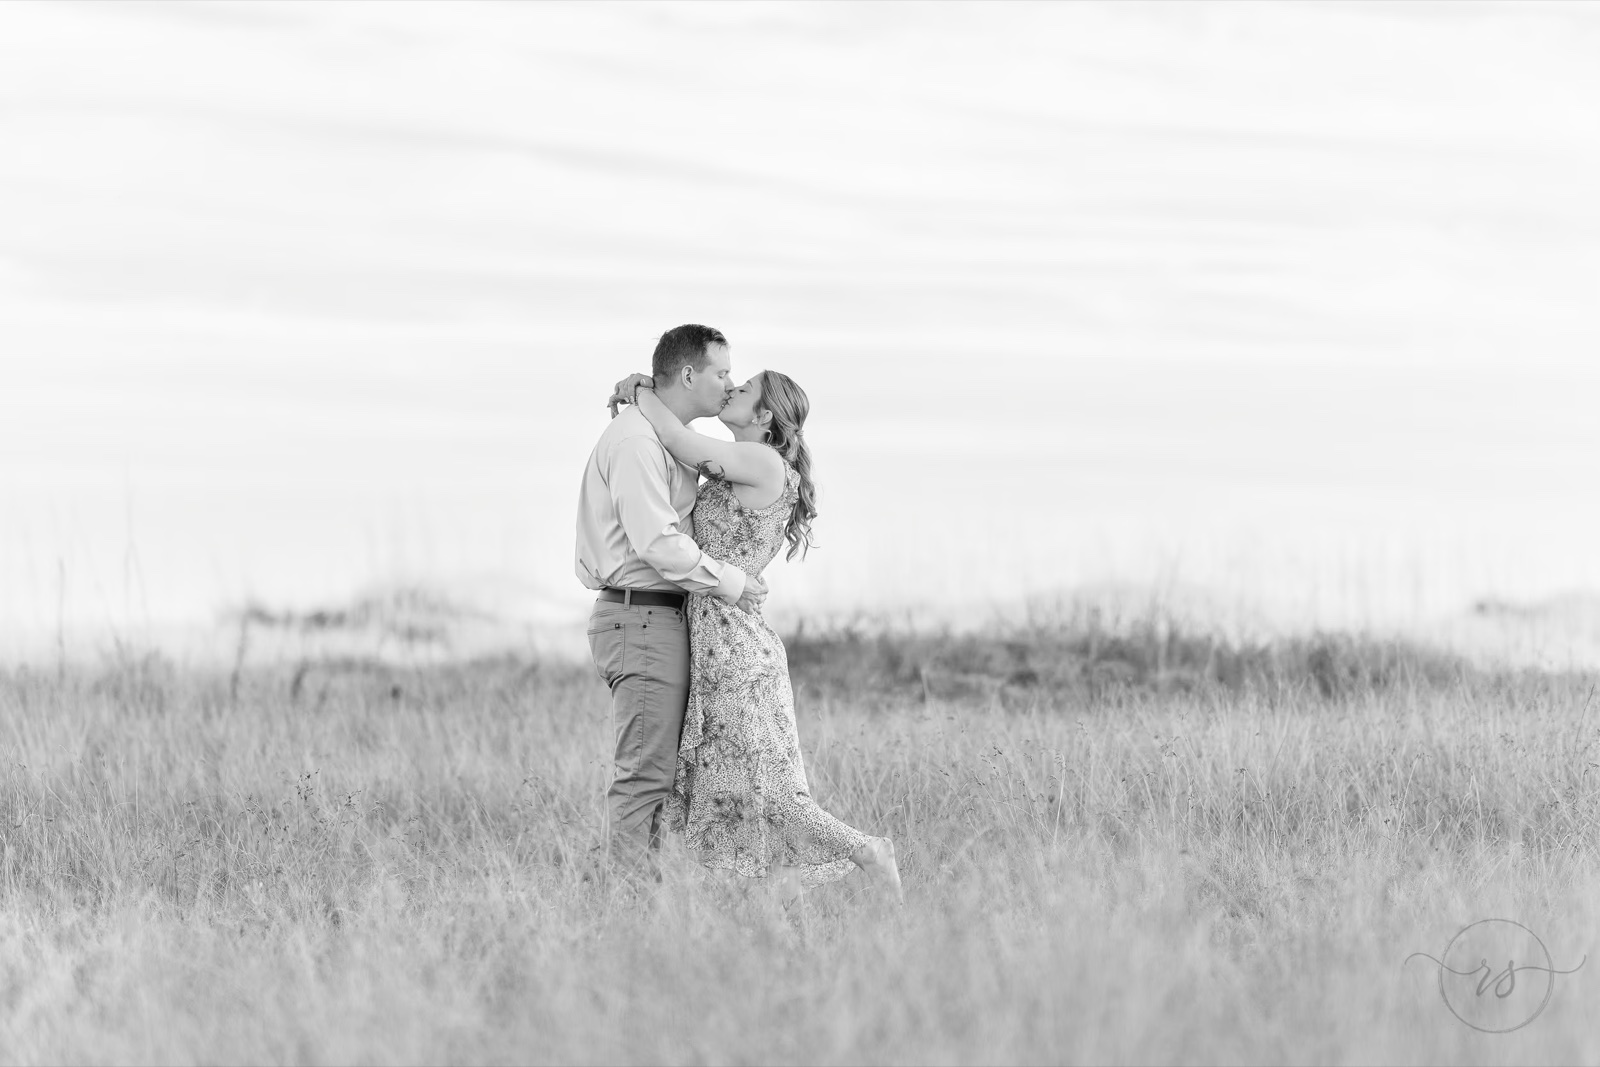
Engagement photography: an 85mm f/1.4
Engagement sessions are also a great way to practice for weddings. You’re making many of the same kinds of couple portraits and learning how to pose, guide, and photograph two people together, but with much less equipment and pressure. You can build confidence before adding the pace and responsibilities of a wedding day.
For engagement pictures, I recommend an 85mm f/1.4. You generally want to frame the couple more closely and blur the background so the focus stays on the two of them. I love the separation an 85mm gives between the people and the scenery behind them.
You’ll need some room to work with an 85mm. It lets you make tighter portraits while keeping a comfortable distance from the couple. Leave space between them and the background when you can. If you also want a picture that shows more of the location, have a wider lens available.
85mm examples
Wedding photography: two cameras, portraits, and wider coverage
Weddings are much more complex than family sessions and require more equipment. That’s why I always recommend getting a year or two of family photography under your belt before taking on weddings. It gives you time to learn your camera, work with different people, and get comfortable with the changing light.
For weddings, I consider two cameras a requirement. Don’t shoot a wedding until you have a second camera available as a backup. You need to be able to keep working if a camera fails. Also bring spare batteries and cards.
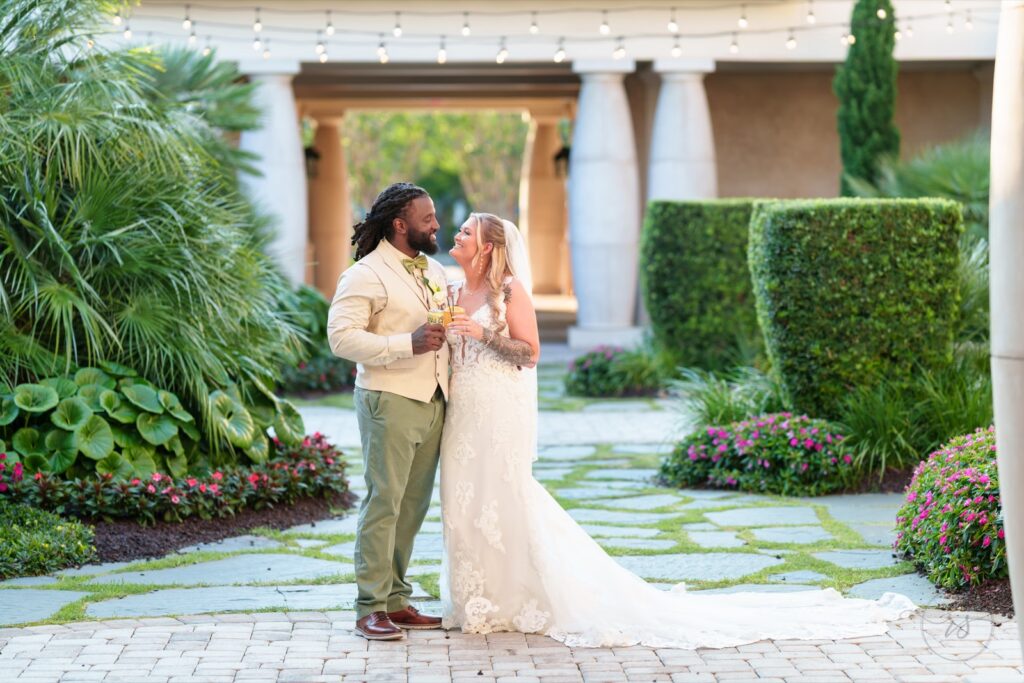
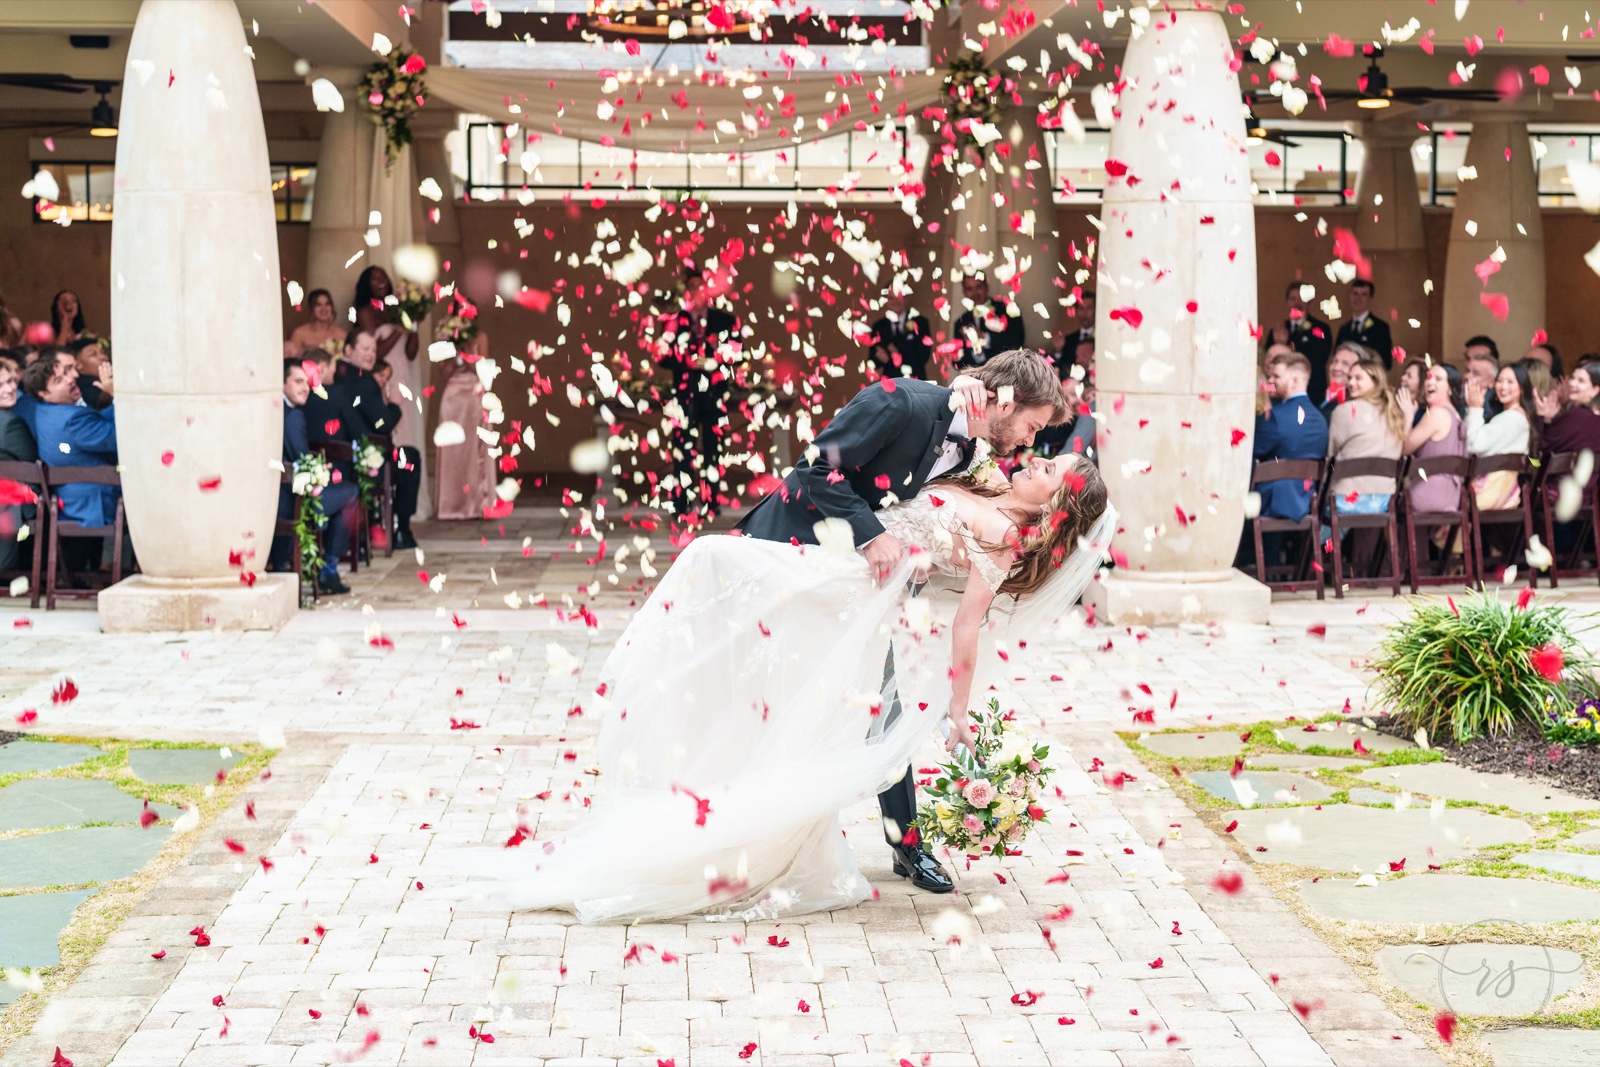
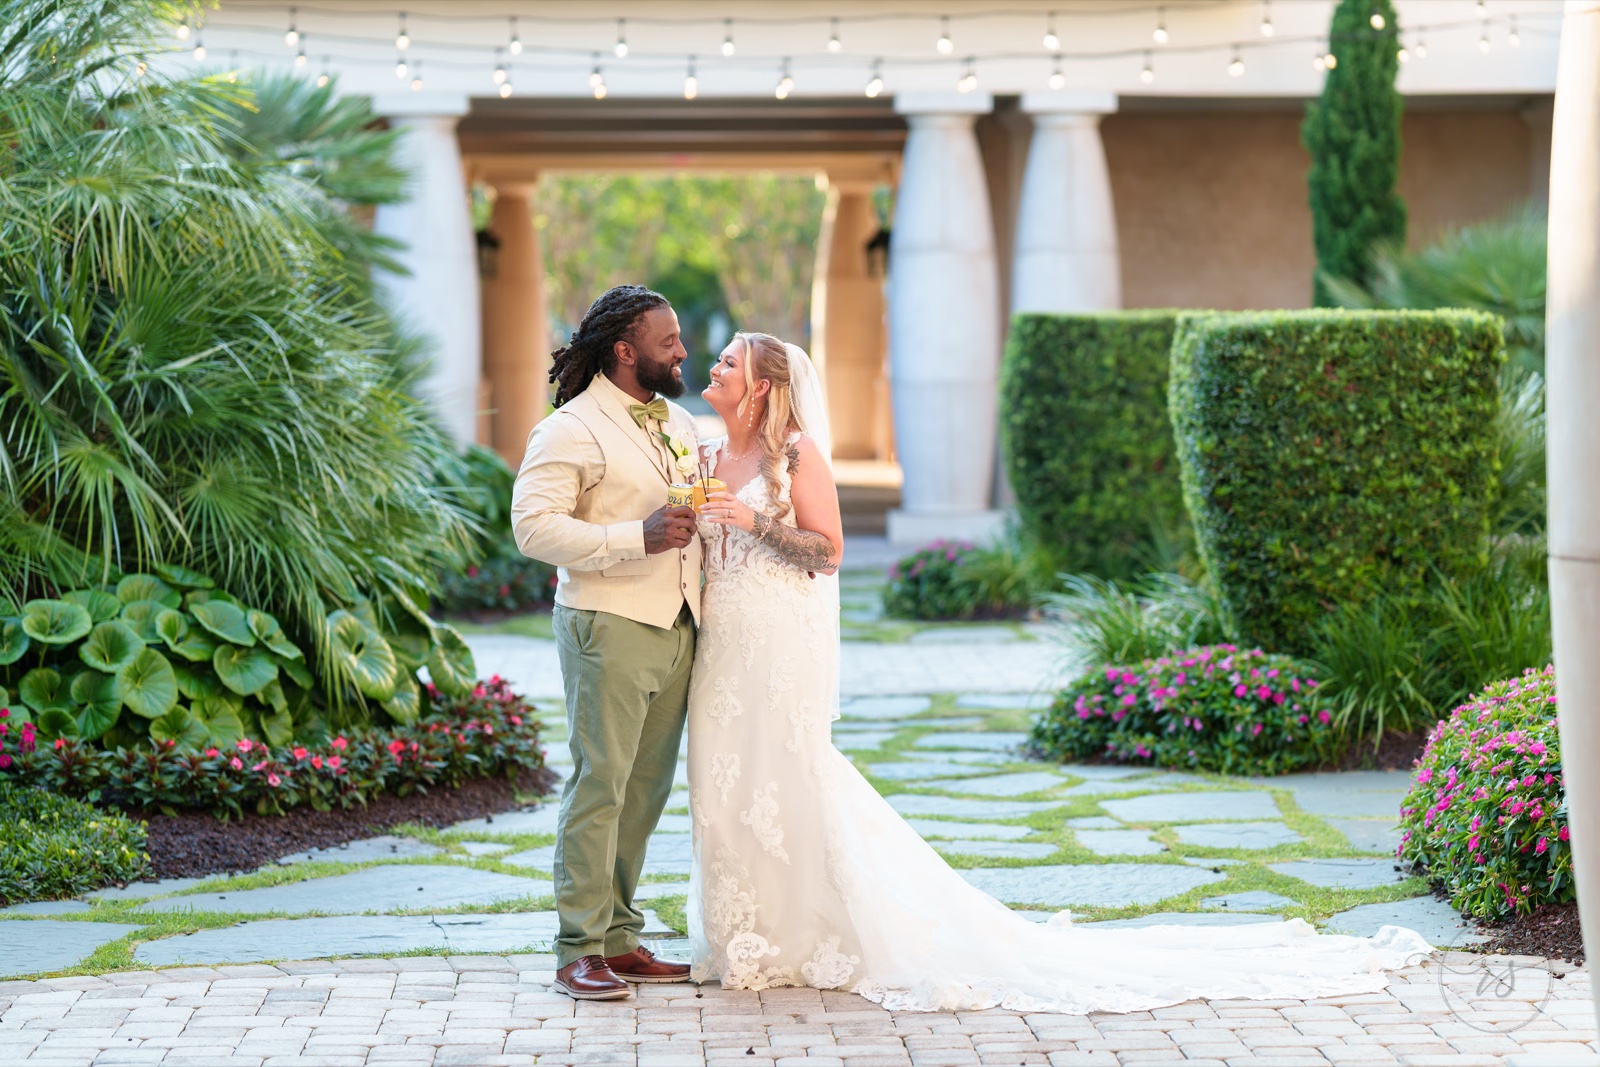
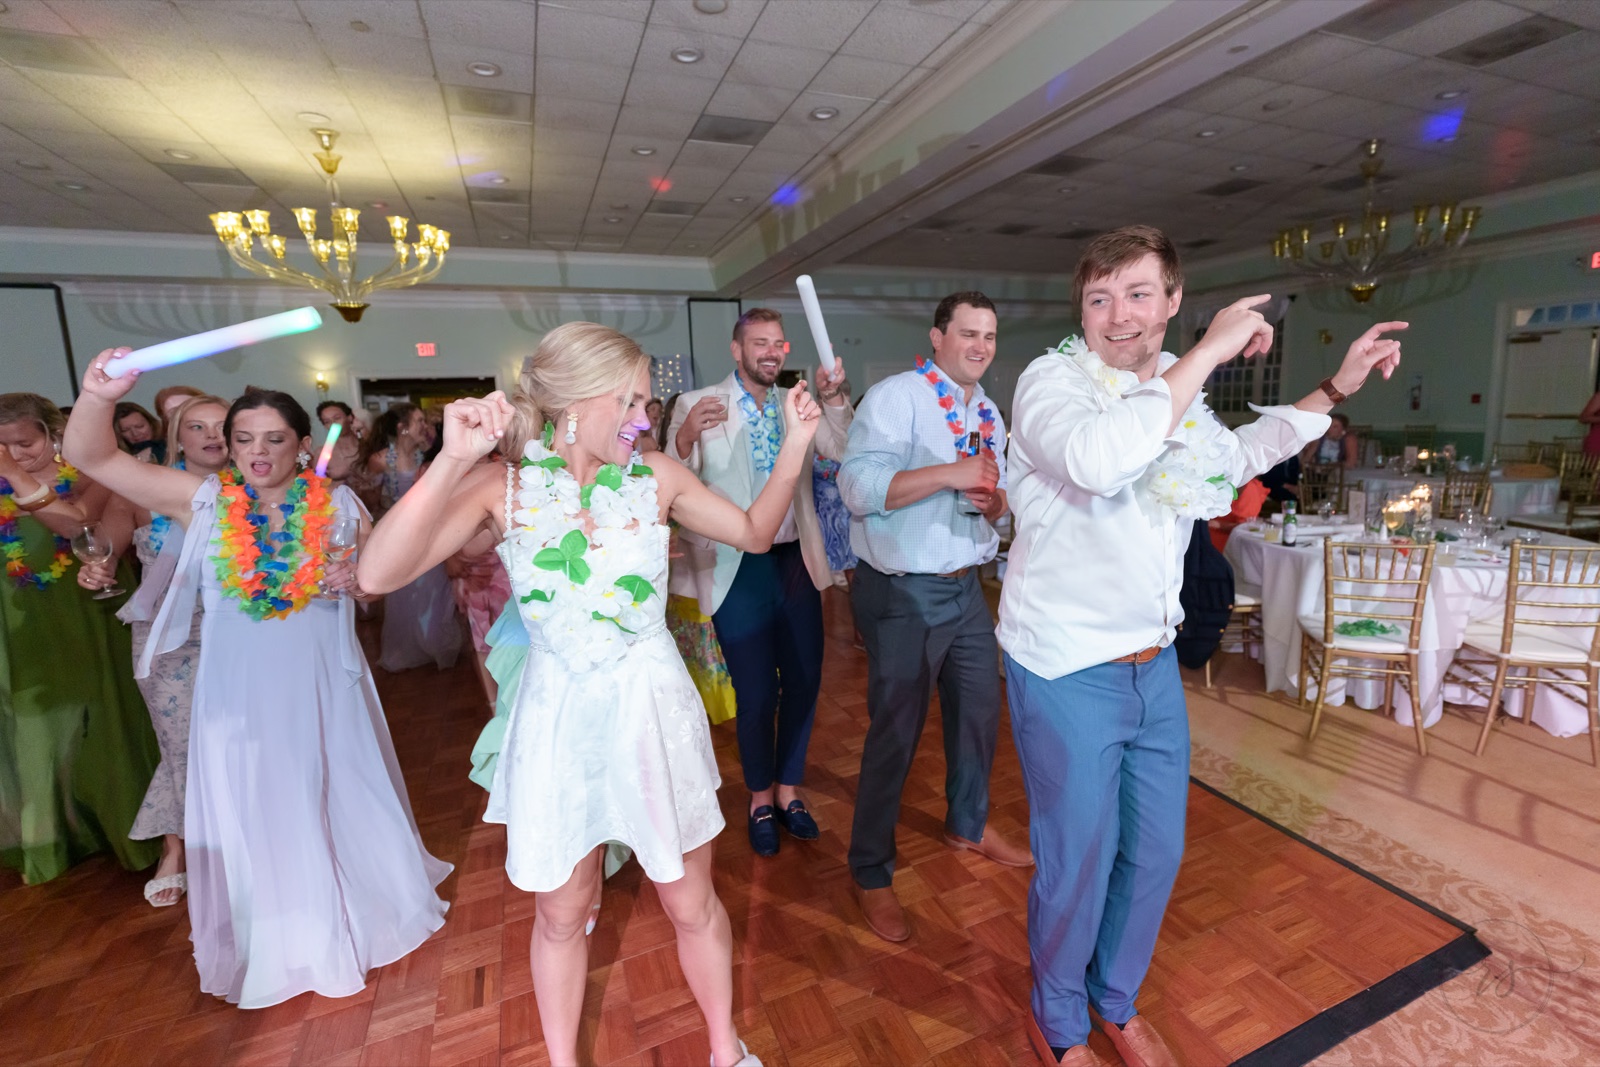
An 85mm f/1.4 is a great choice for bride-and-groom portraits, but you also need a 35mm or wider-angle lens. Use it for large groups and photographs that show the location, such as decorated tables, the ceremony space, and the ballroom. A 24mm or 28mm can help when you require a wider view or have less room to step back.
For group pictures, keep an eye on the people near the edges of a very wide frame, where they can look stretched. Choose the focal length and camera position to fit the group while keeping everyone looking natural.
35mm examples
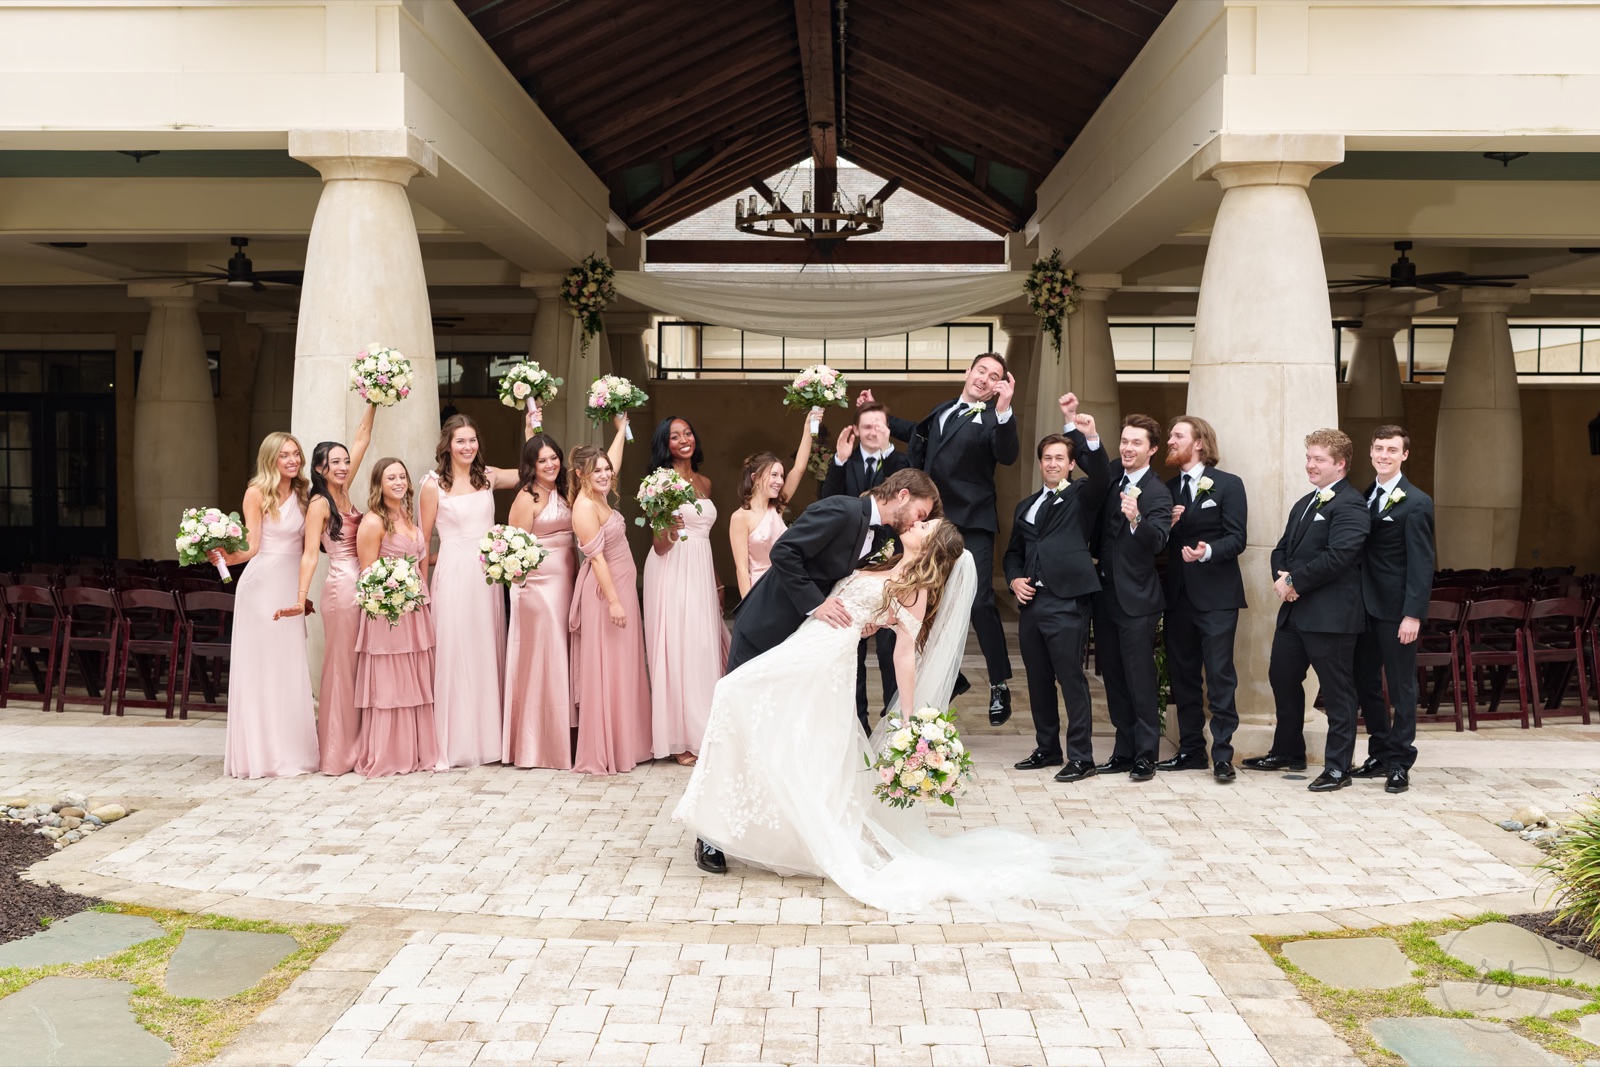
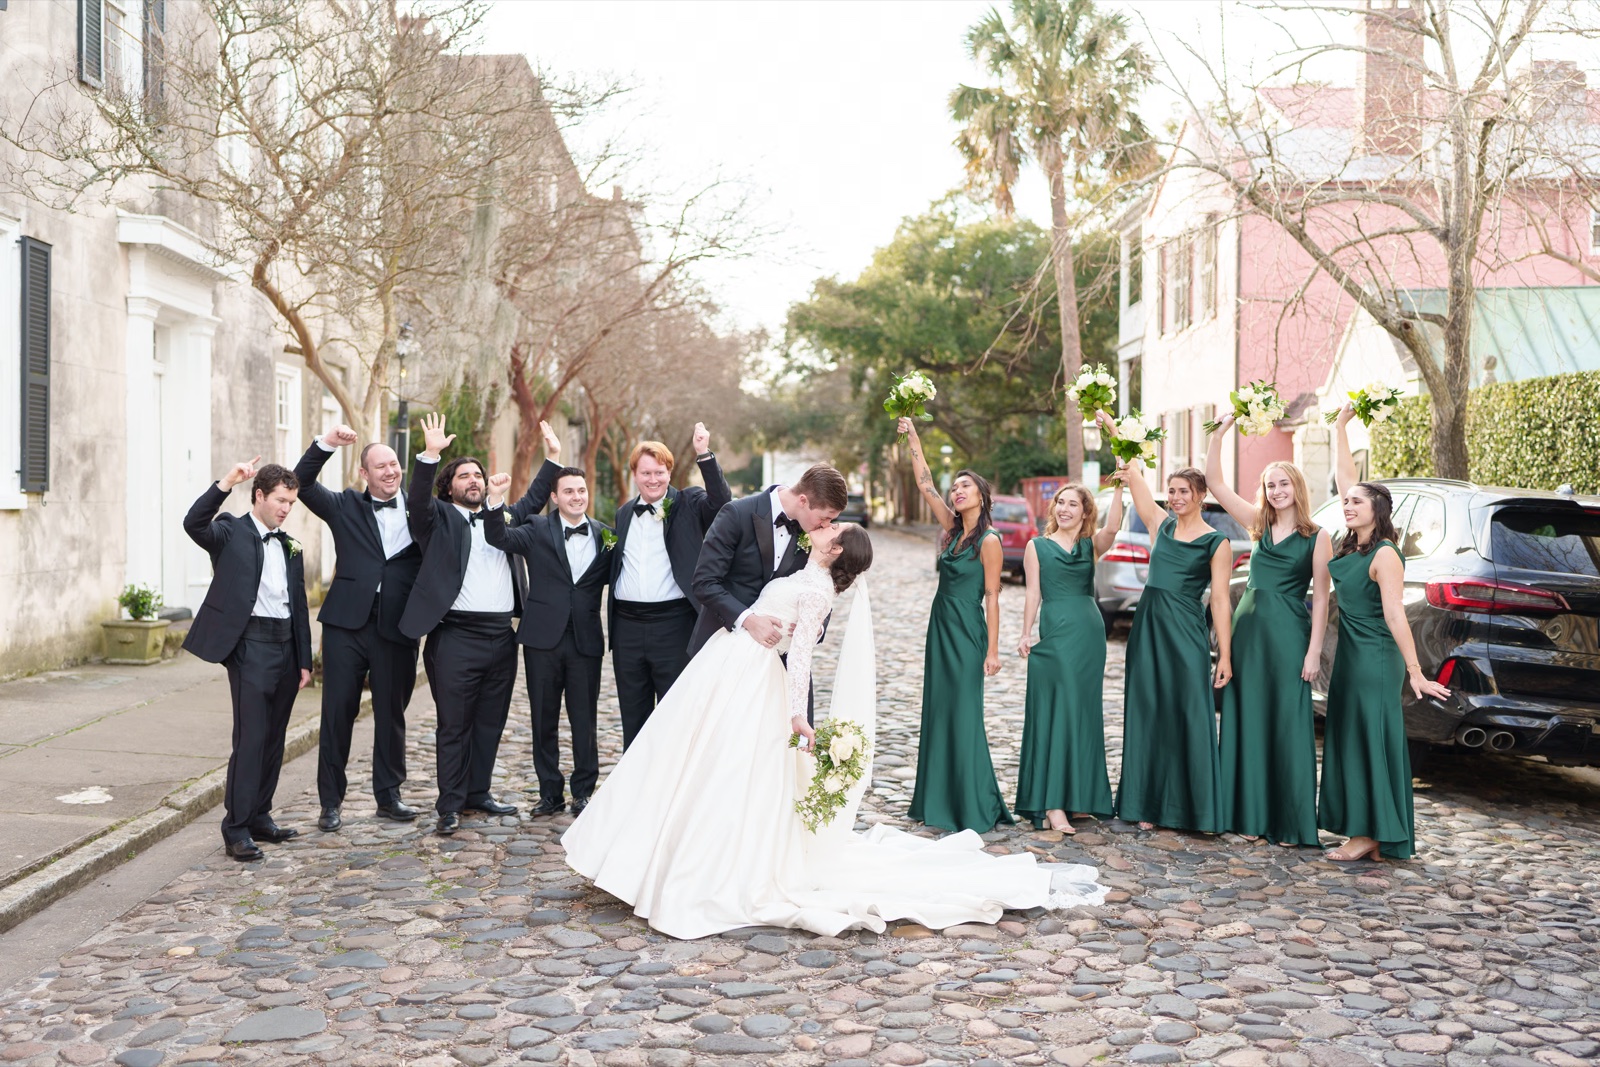
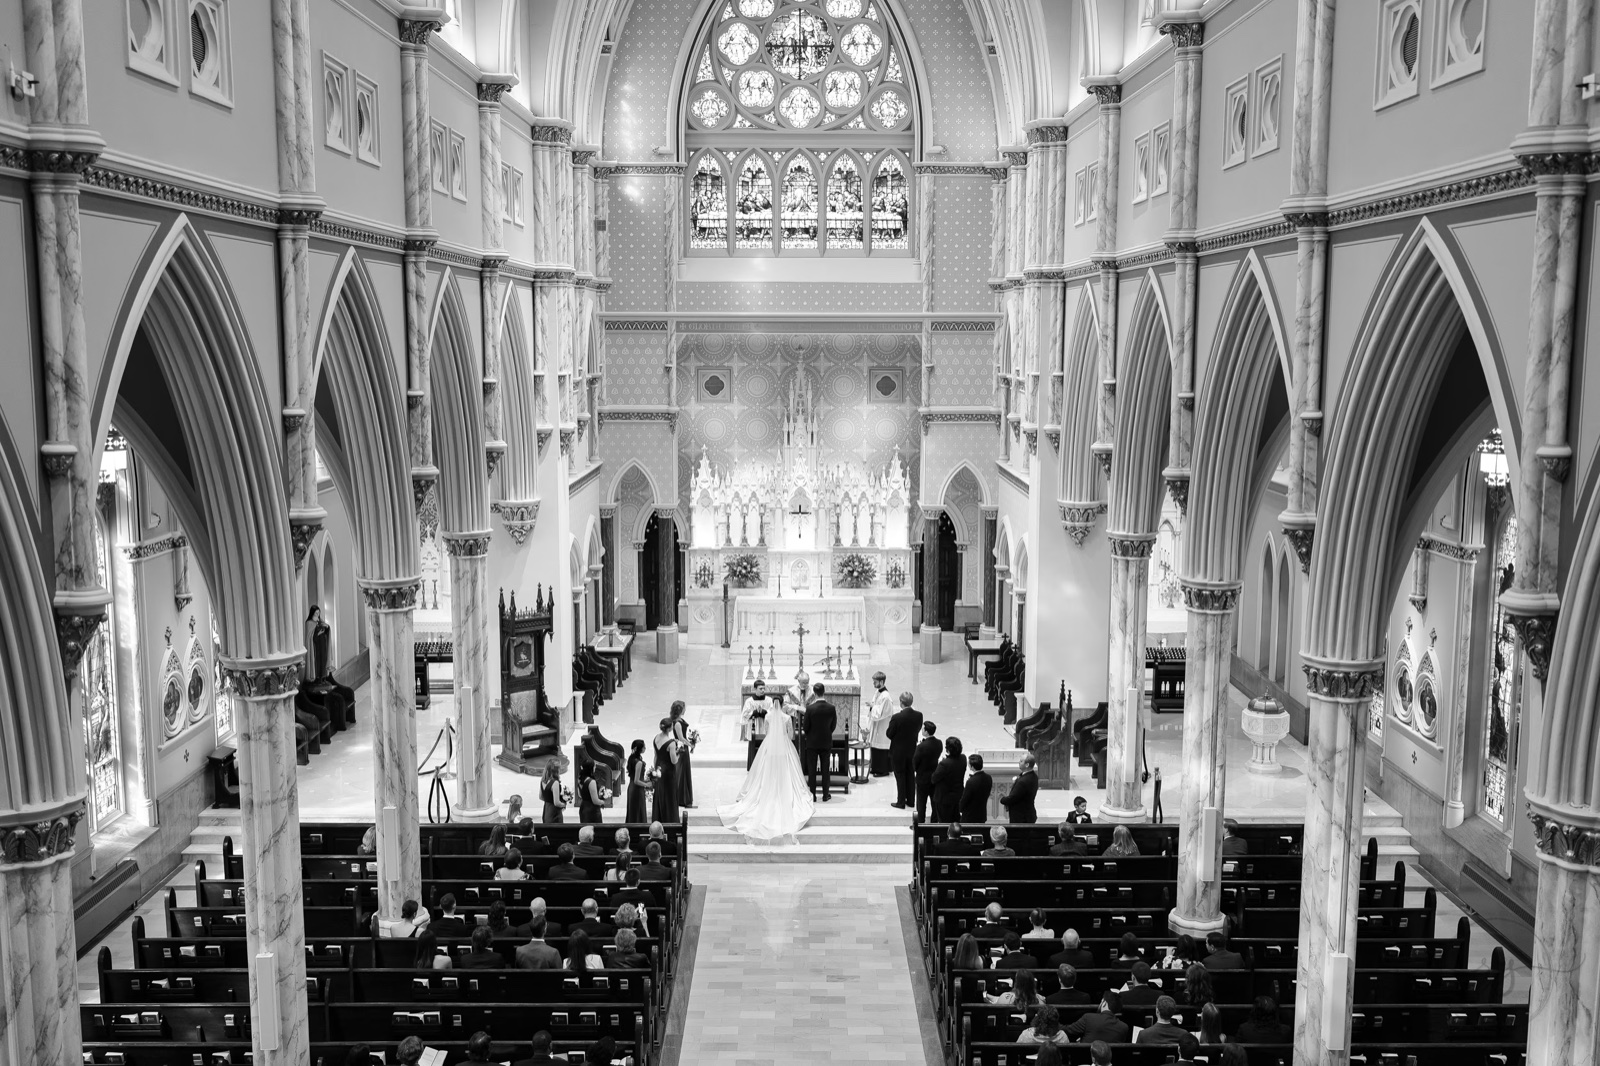
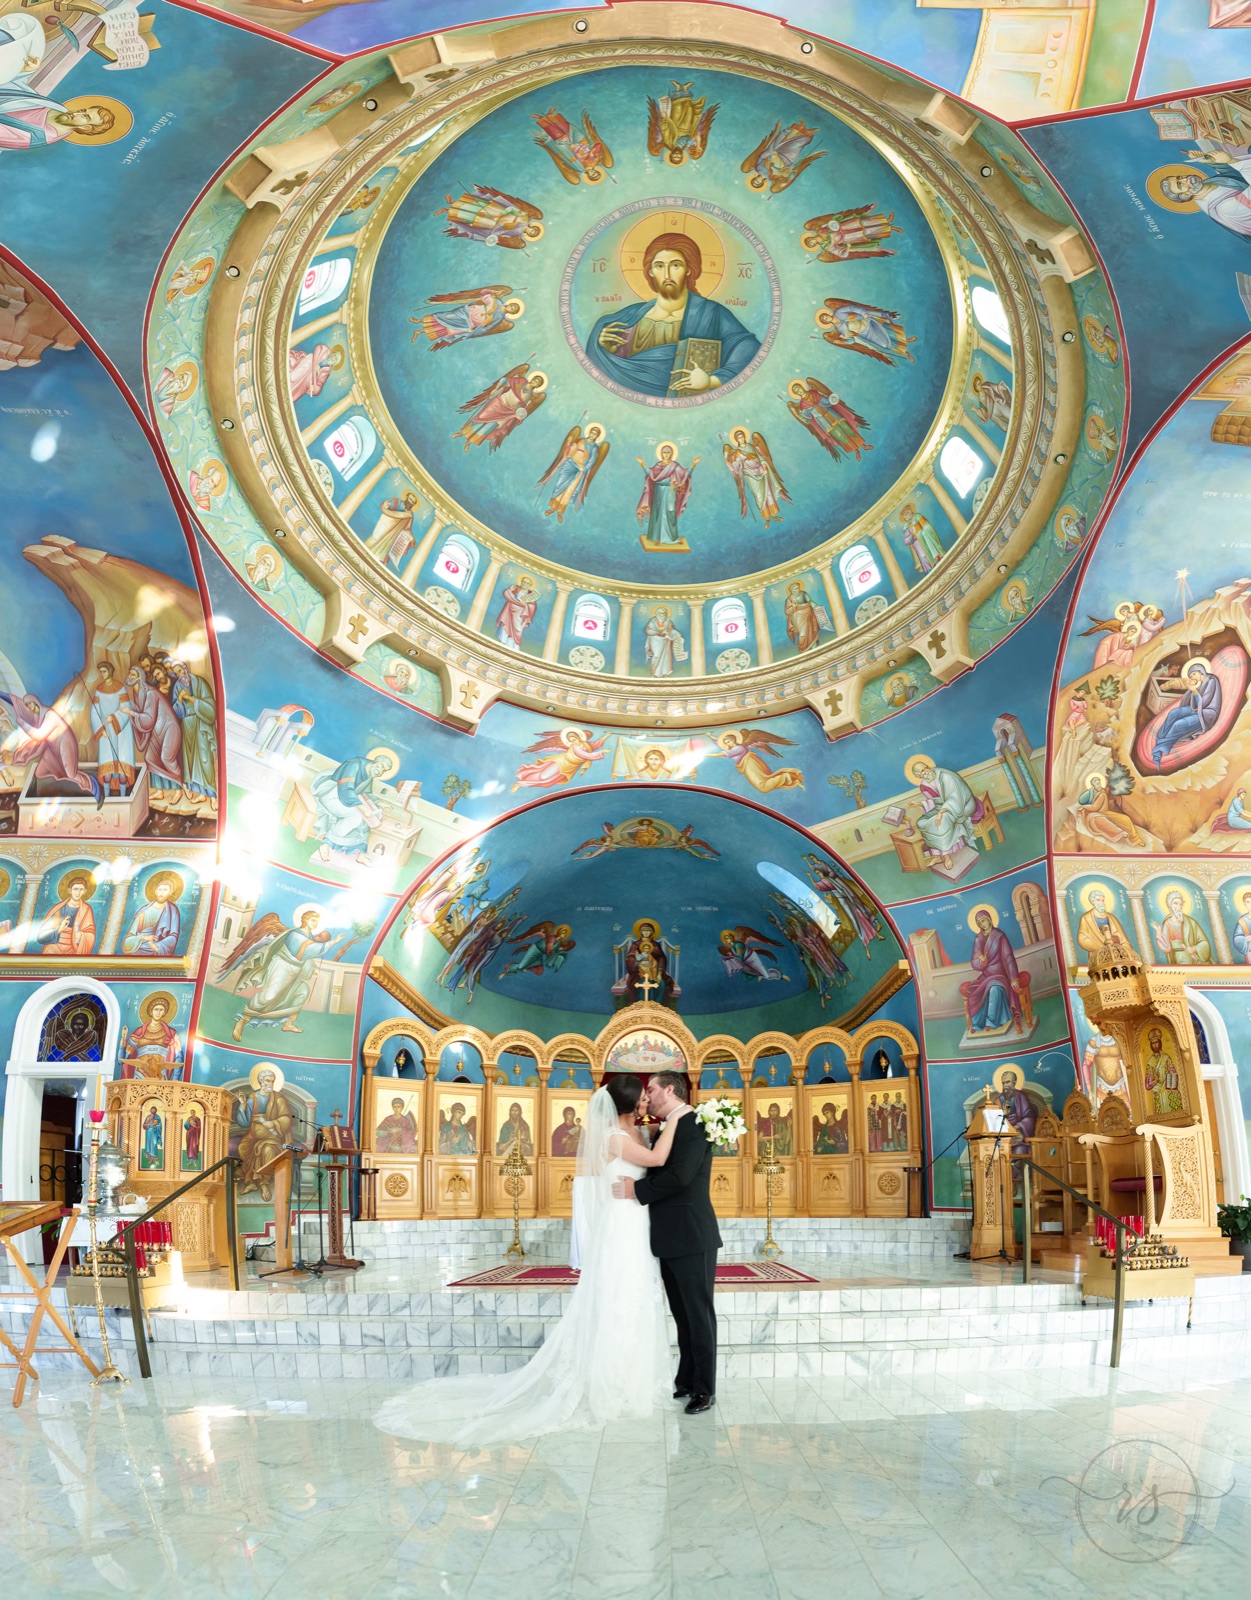
14–15mm wedding and venue examples
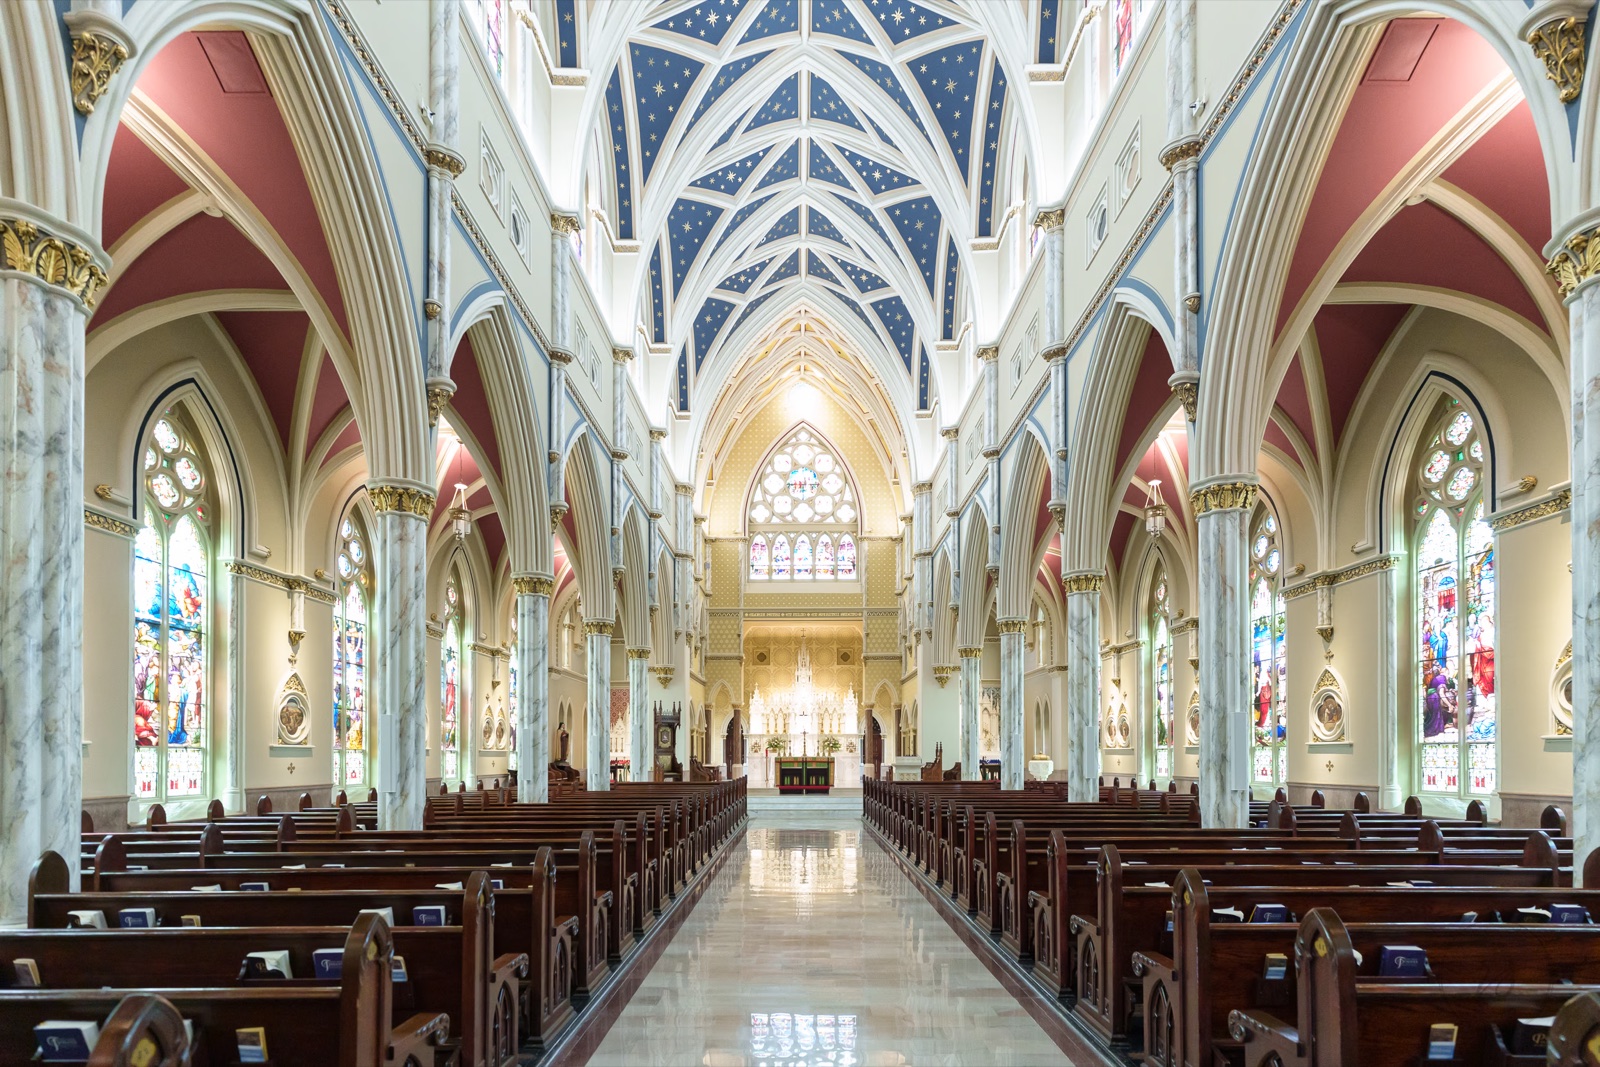
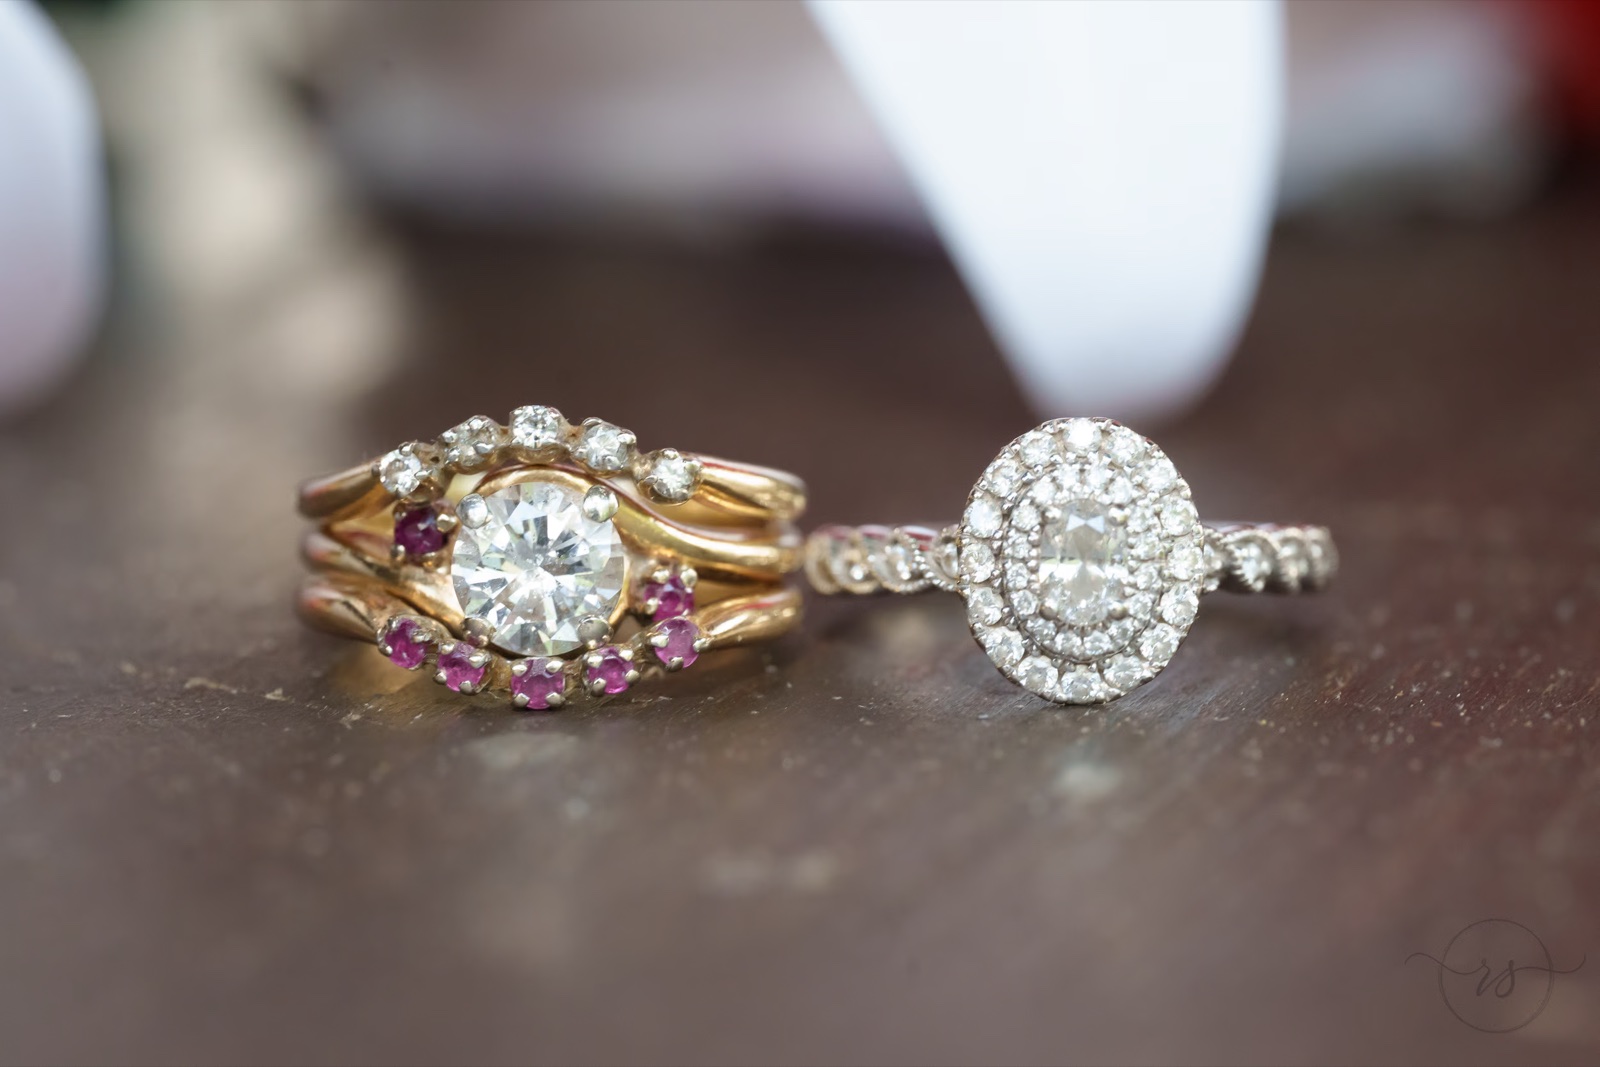
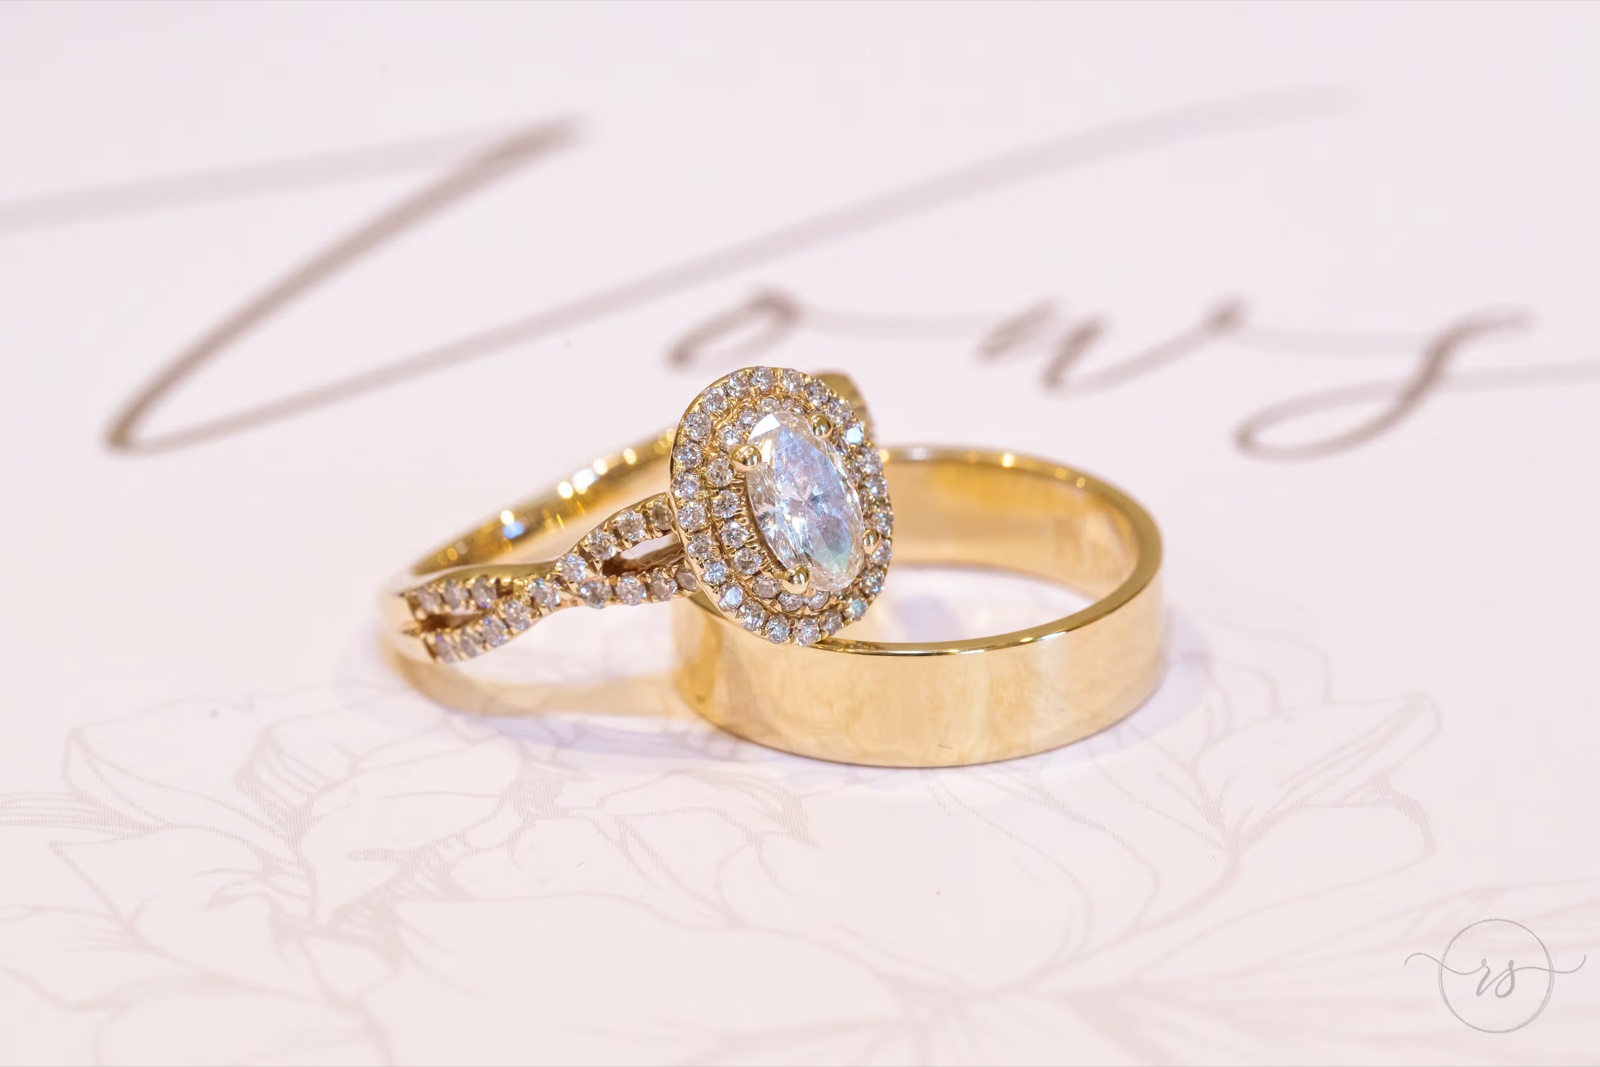
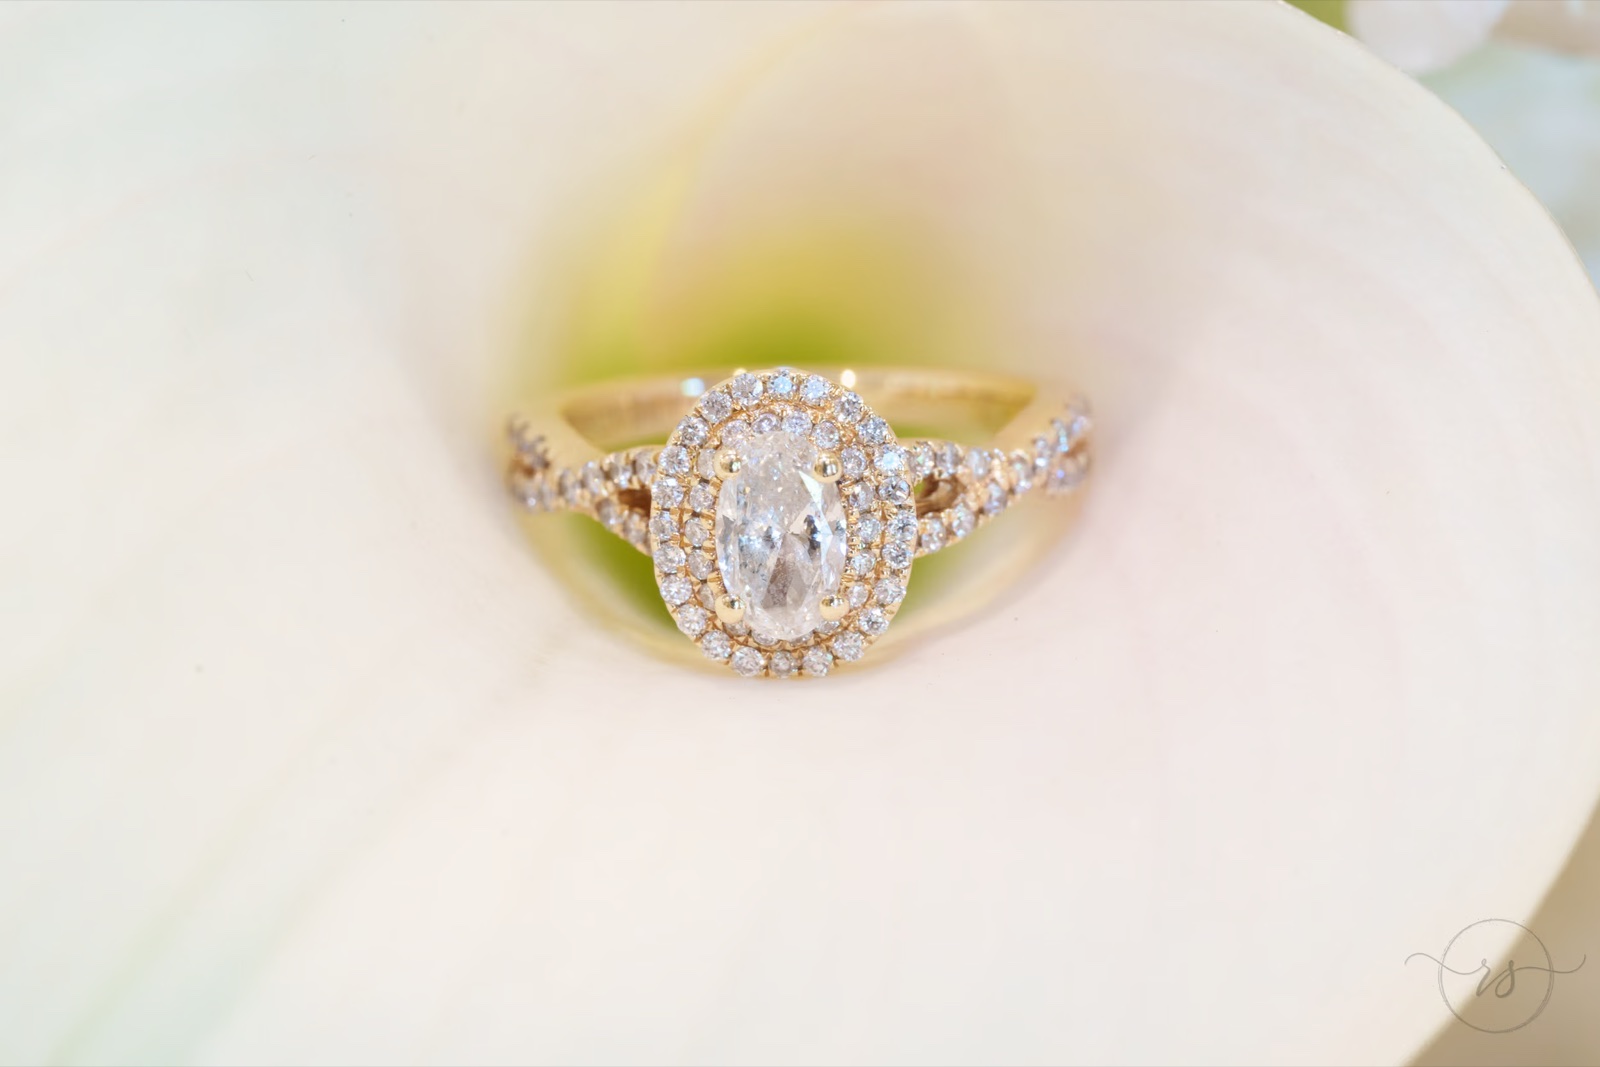
A macro lens and tripod are also nice to have for rings and small details. They aren’t required to start, but they give you more options for carefully composed close-up pictures.
Macro examples
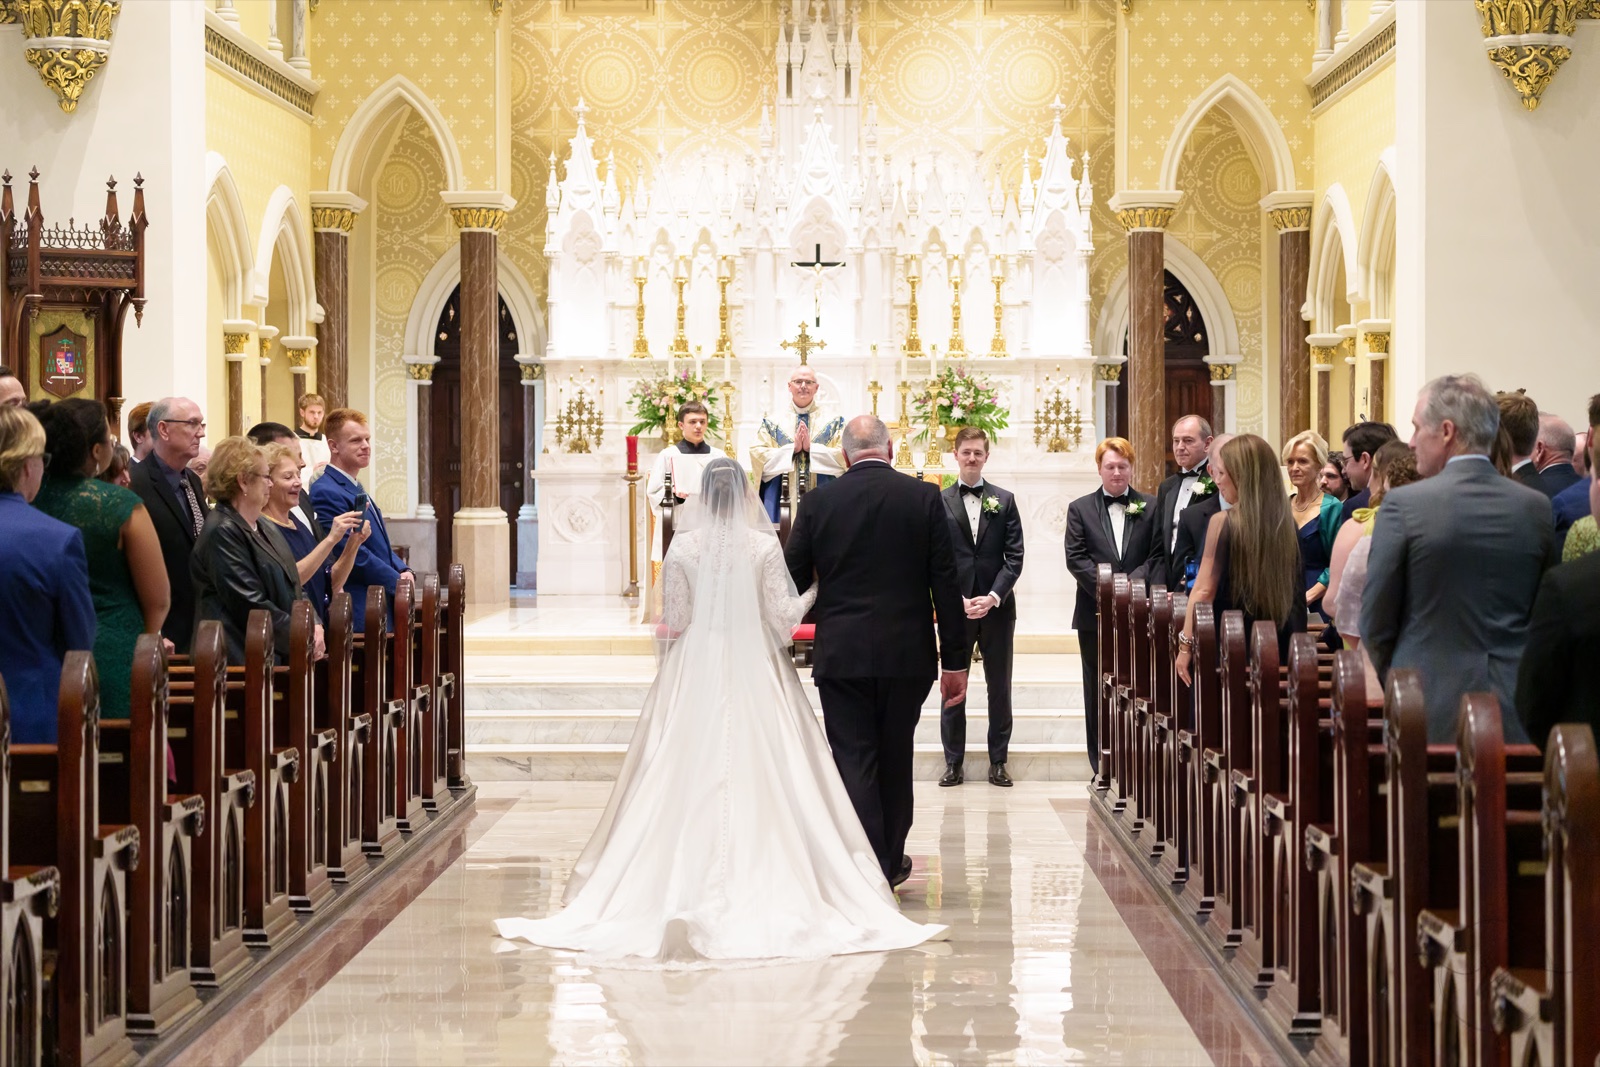
It’s also useful to have a longer zoom, such as a 70–200mm, for church weddings and other locations where you aren’t allowed to approach the couple. Some churches only allow photography from the back of the room. In those situations, a telephoto zoom may be required to get the closer photographs you need. Check the photography rules before the wedding so you can bring the right equipment.
70–200mm examples
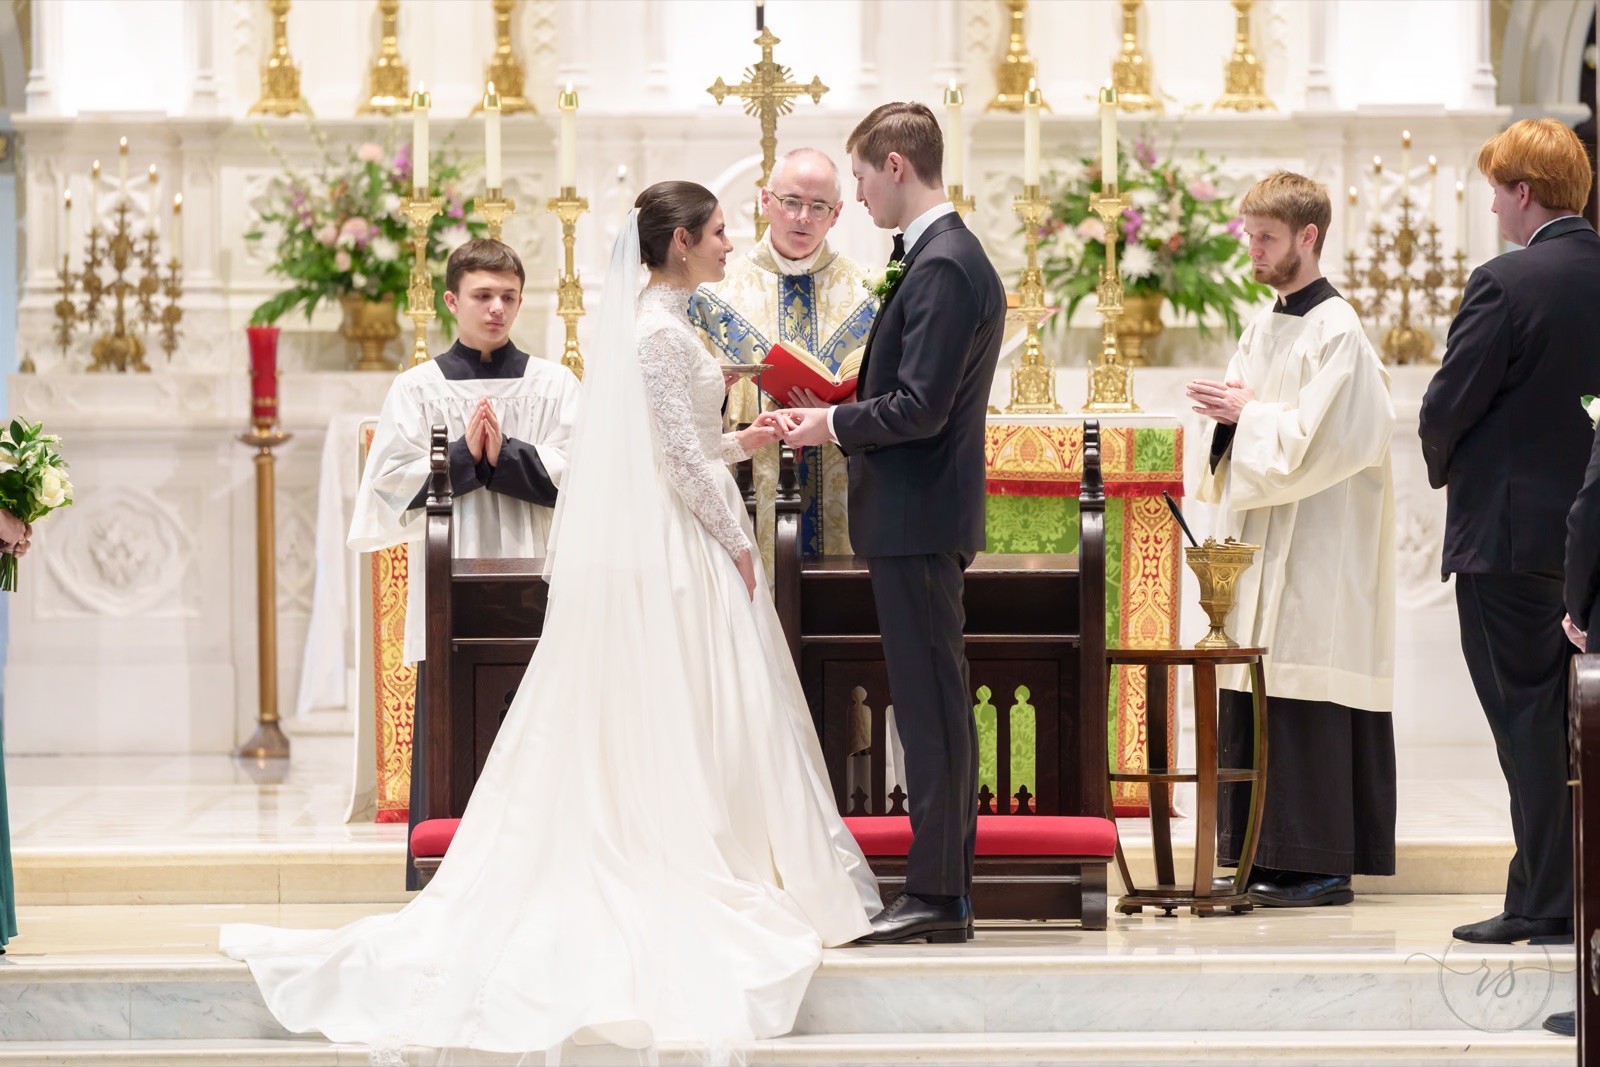
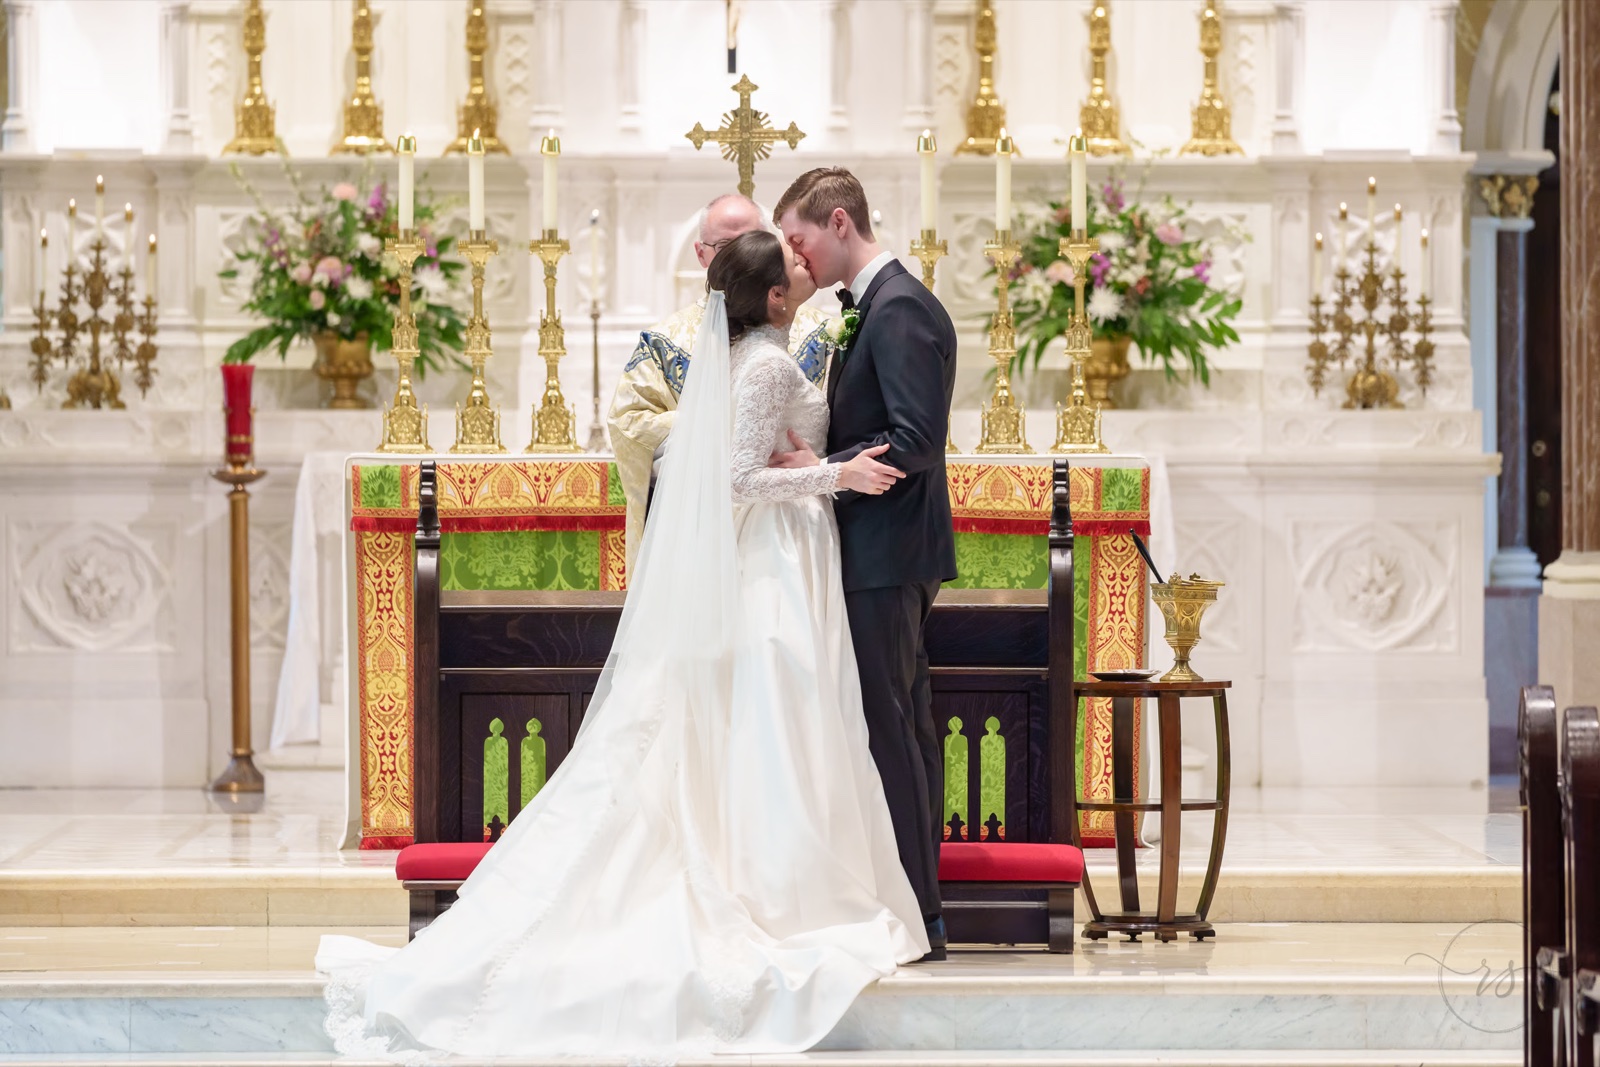
Practice with your flash before the wedding day, and have a dependable way to back up the photographs afterward. Knowing your equipment and being ready when something changes are a big part of doing the job well.
Real estate photography: around 16mm for interiors
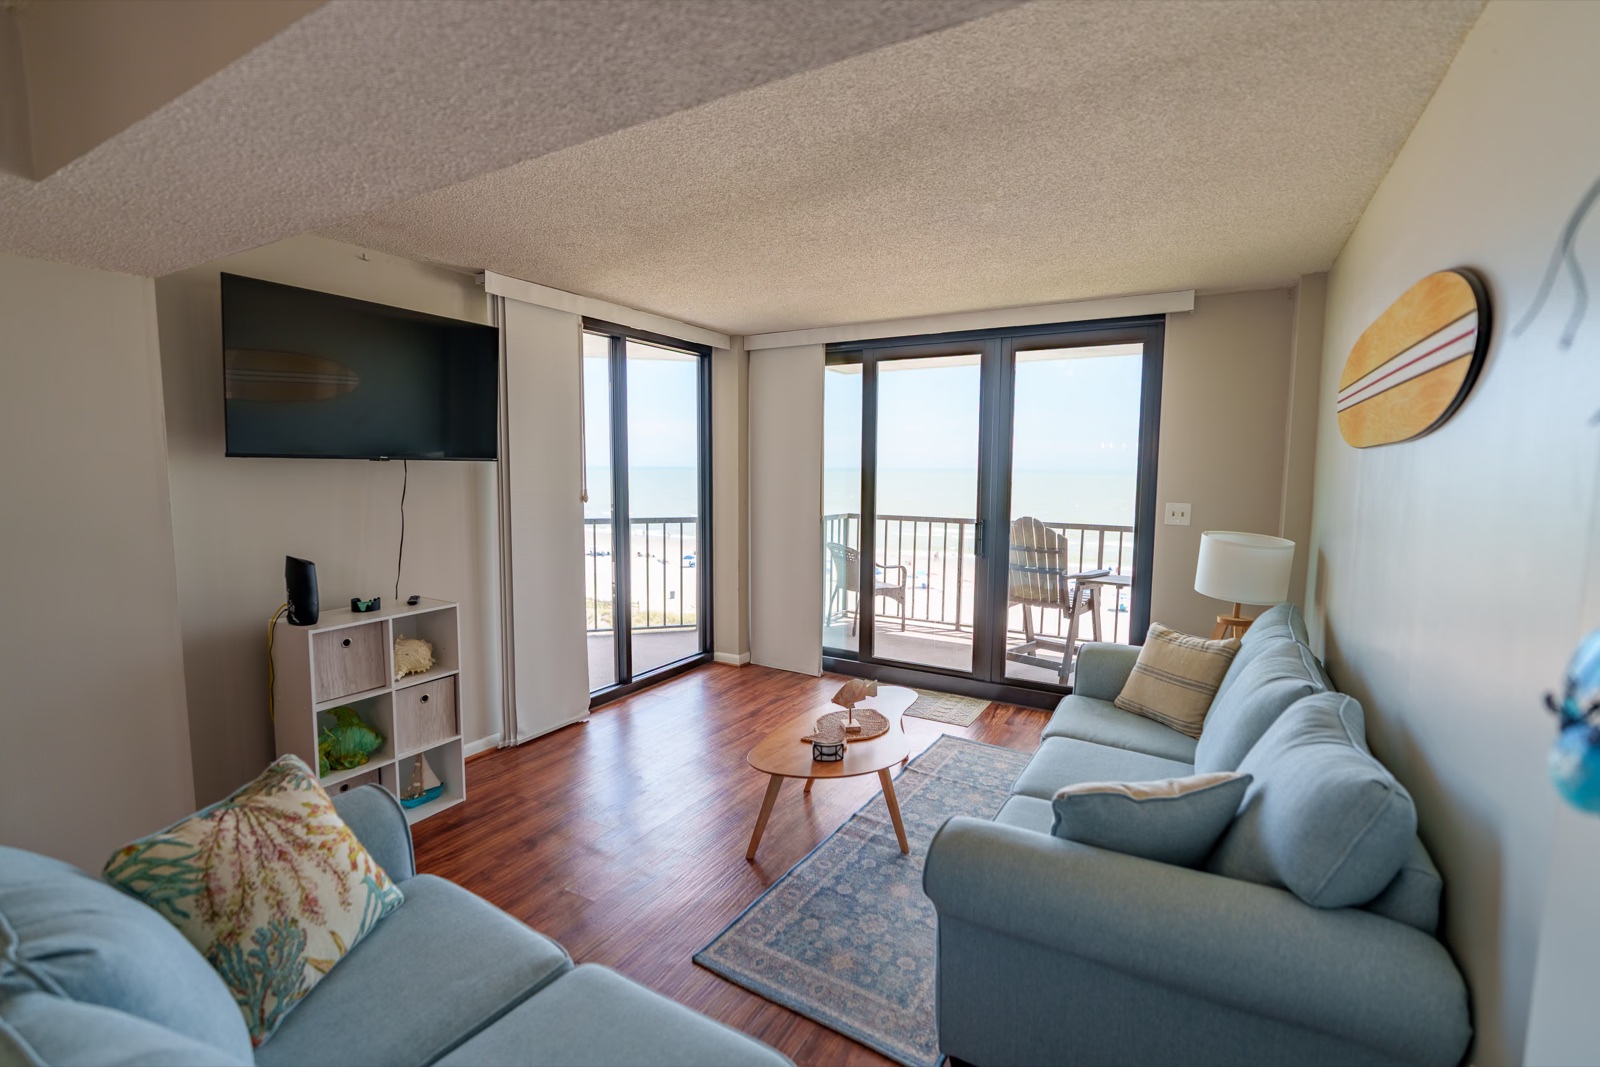
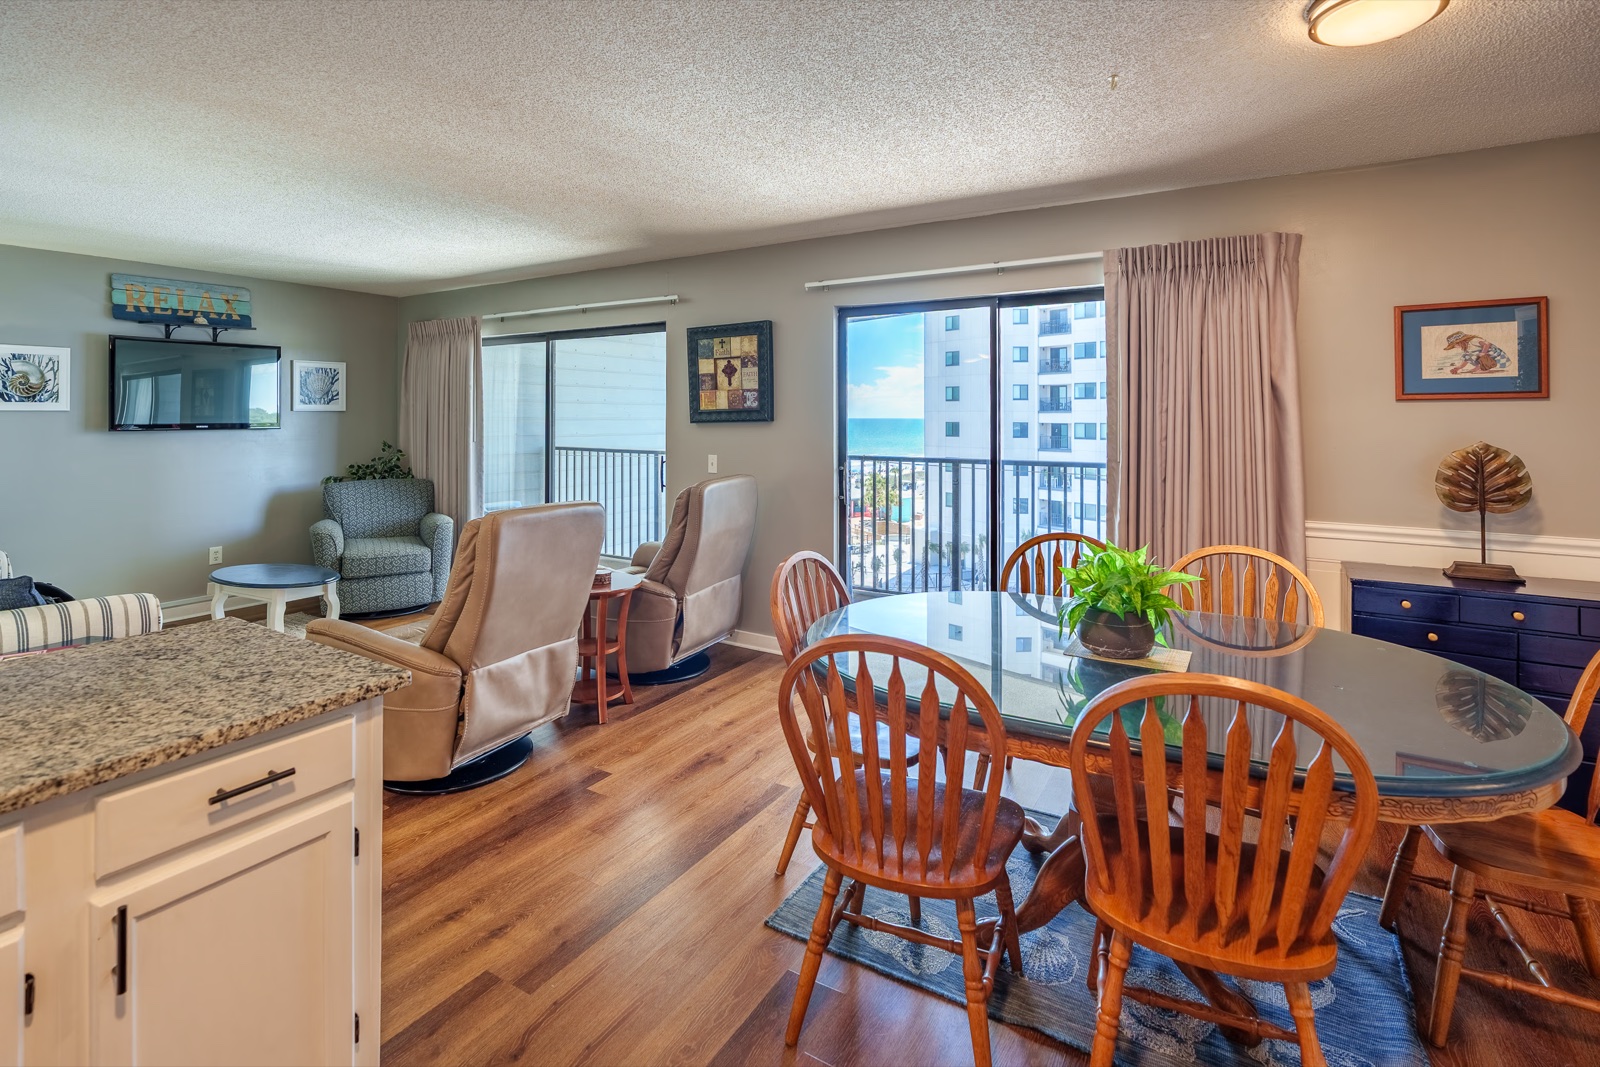
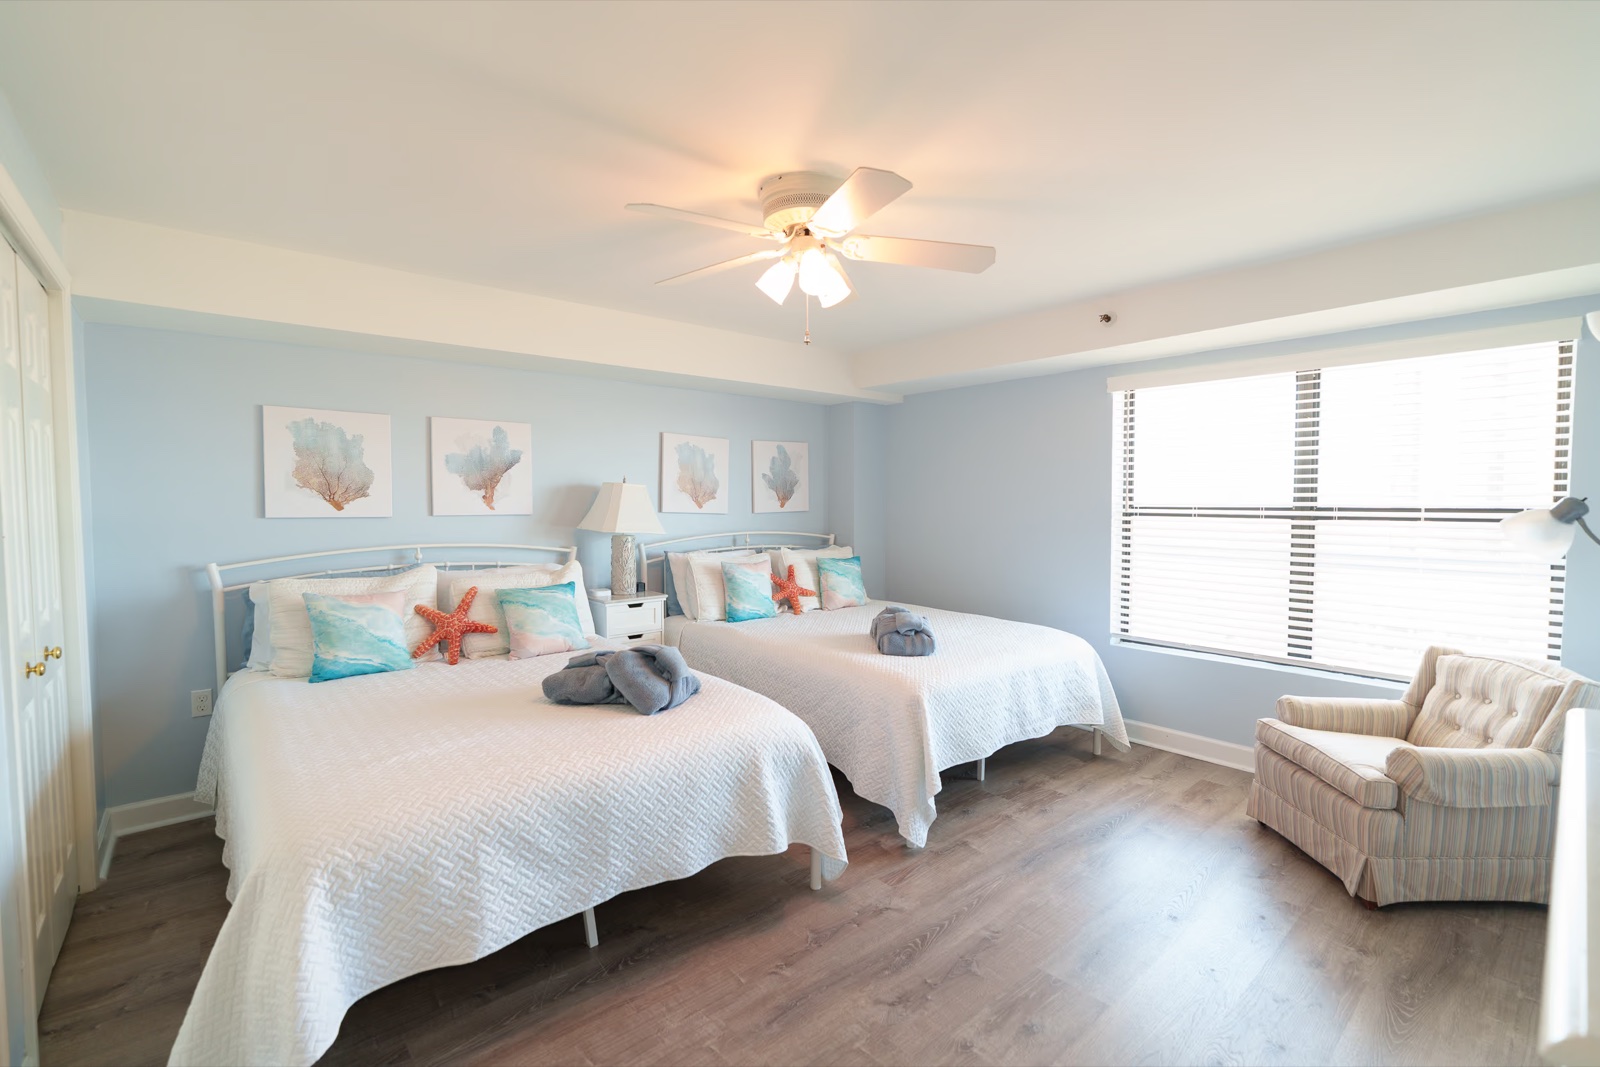
For real estate, you need a much wider lens than you would normally choose for portraits. I recommend something around 16mm on a full-frame camera for room pictures. That wide view helps show the layout and gives interiors a spacious, polished look, even when there isn’t much room to step back.
Keep the camera level and watch the vertical lines so walls and doorways stay straight. Pay attention to furniture near the edges of the frame, where a very wide lens can stretch its appearance. The goal is to show the space at its best while keeping the room’s proportions natural.
Unlike portraits, the aim here is to show the room clearly rather than blur the background. Choose your camera position and aperture to keep the important details in focus.
16mm real estate examples
What I use now
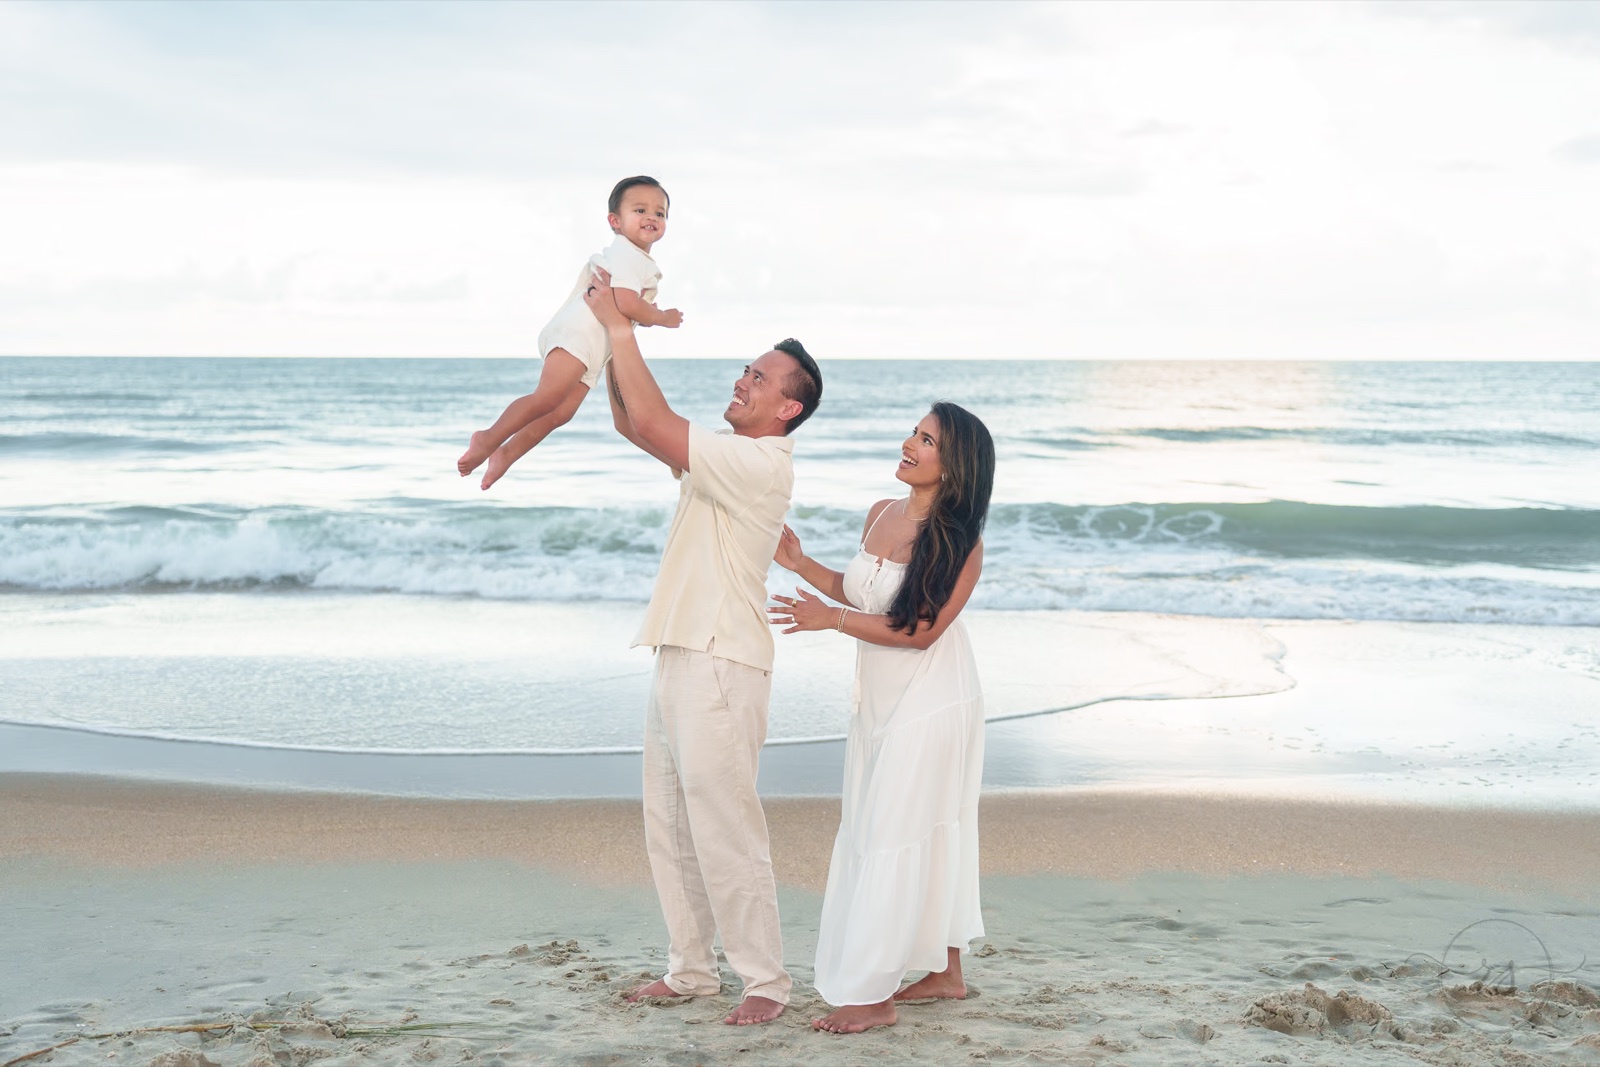
My main cameras now are the Sony a7 IV and a7R V. My main lenses are the 28–70mm f/2 and an 85mm f/1.4, along with Godox flashes.
I used to rely heavily on primes, and I still love that look. The 28–70mm f/2 gives me more flexibility while keeping the image quality and background separation I want. It’s a more expensive lens, though. For someone starting with family portraits, I would begin with the full-frame mirrorless camera and 50mm f/1.4, then add the 85mm f/1.4 as needed.
Examples with my 28–70mm f/2
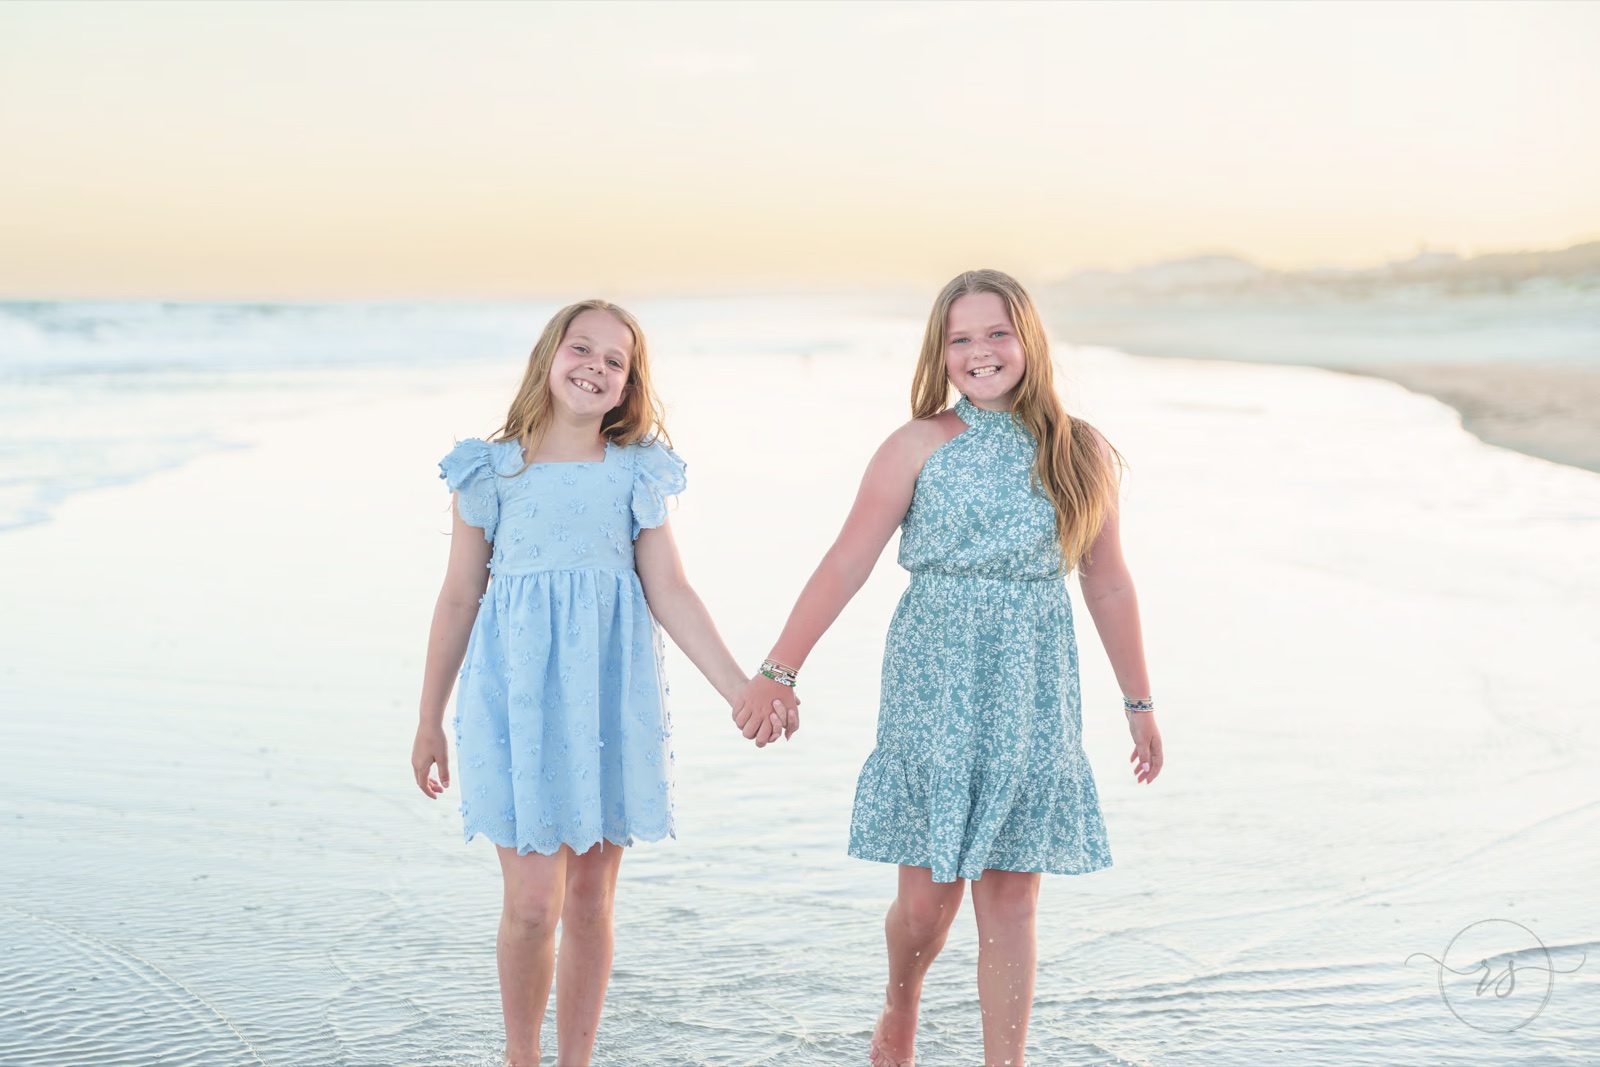
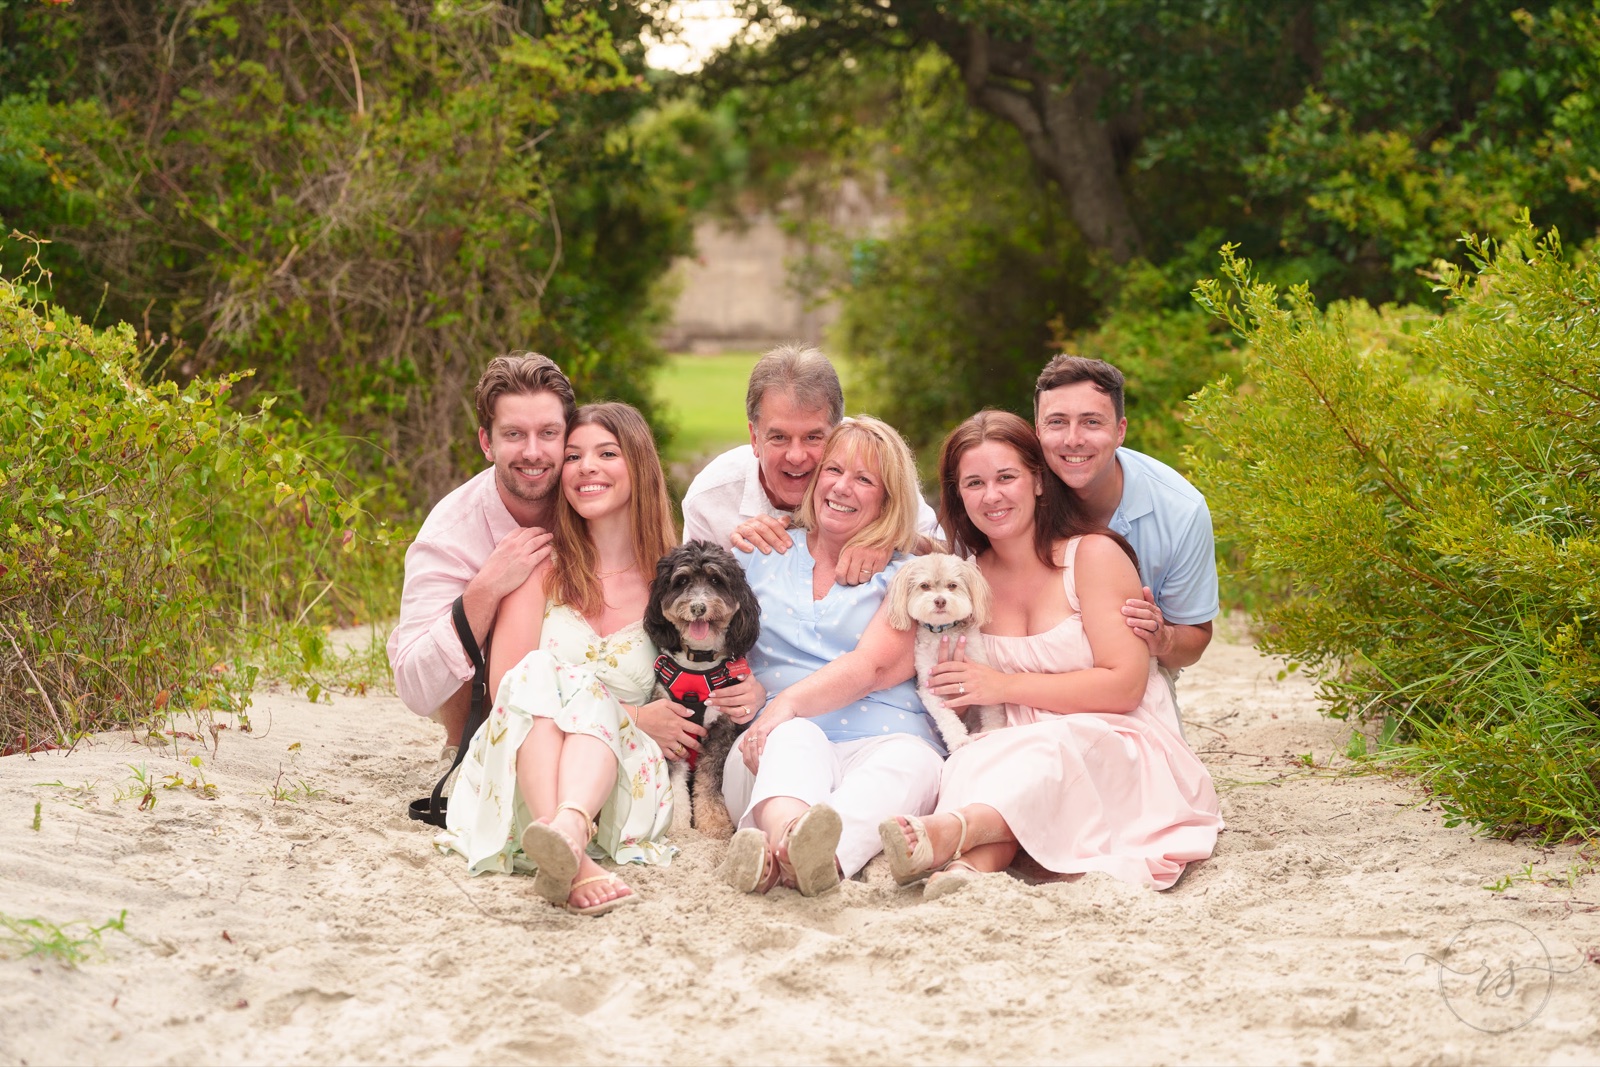
Start learning off-camera flash
A good lens is a big part of the look, but lighting is just as important. I use Godox flashes, and off-camera flash is a big part of my wedding and family photography. It helps me light people while keeping the color and atmosphere of the scene around them.
You don’t have to buy a complicated lighting setup at the beginning. Start with a compatible flash and learn to use it. As you move off camera, you’ll also need a compatible trigger and a secure way to support the light.
Off-camera flash will be the focus of my next blog post. I’ll go into the equipment and how I use it for portraits, so I’m keeping the lighting section brief here.
Where I would start
If you’re buying your first kit for family photography, my recommendation is a Sony full-frame mirrorless and a 50mm f/1.4 lens. Learn that combination, add an 85mm f/1.4 when you expand your kit, and put time into learning off-camera flash.
If you already have a modern mirrorless camera, keep using it. The lens, the light, and how you work with the people in front of you matter much more than the camera body itself.
I’ll use this blog to share more tips from my years photographing weddings and families, along with announcements about new ShootCal features. Next up: getting started with off-camera flash.
You can see more of my wedding and family pictures at Ryan Smith Photography.
Discover more from ShootCal
Subscribe to get the latest posts sent to your email.